
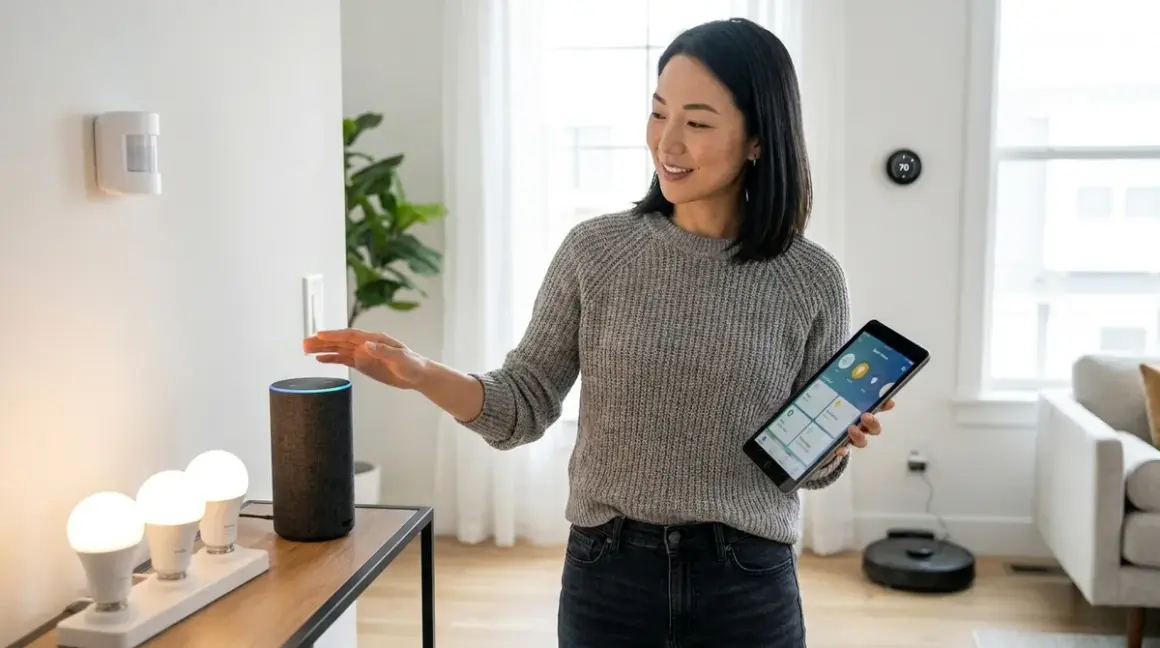

Building a home where technology whispers rather than shouts requires a different approach than most guides suggest. This article walks you through how to start smart home from scratch step by step—not as a collection of gadgets, but as a layered system that responds to the rhythms of daily life. You'll learn to identify which spaces benefit most from automation, select protocols that work together reliably, and establish a foundation that grows with your needs without creating visual or technical chaos. Expect to invest 2-3 weekends for the initial setup, plus ongoing refinement as you observe how your household actually moves through the day. No prior technical experience required, though comfort with smartphone apps and basic Wi-Fi troubleshooting helps. The goal: a home that anticipates your needs before you consciously register them.
What You'll Need
- Hub or central controller (options include Apple HomePod mini for Thread/Matter, Hubitat Elevation for local Zigbee/Z-Wave, or Samsung SmartThings for multi-protocol support)
- Wireless router with 2.4 GHz and 5 GHz bands (minimum Wi-Fi 5; Wi-Fi 6 preferred for Thread border routing)
- Smartphone or tablet (iOS 16+ or Android 12+ for current Matter compatibility)
- Mesh network extender (if home exceeds 1,500 sq ft or has thick walls)
- Initial device set (suggested: 2-3 smart switches, 1 motion sensor, 1 smart plug)
- Notepad or digital document for mapping automation logic
- Electrical tester (if replacing physical switches)
- Wire labels or painter's tape (for marking circuits during installation)
Choose Your Foundation Protocol Based on Architecture and Lifestyle
Before purchasing a single device, map where people naturally pause, transition, or linger in your home. Stand in each room at different times of day. Notice where light pools, where shadows create unease, where reaching for a switch interrupts the flow of entering with groceries or leaving for work. These friction points guide which rooms receive automation first.
Start with one protocol family rather than mixing systems prematurely. Zigbee and Thread both create mesh networks where devices strengthen the signal by relaying messages to each other, making them ideal for homes with masonry walls or spread-out floor plans. Z-Wave operates on a different radio frequency (908.42 MHz in North America, compared to Zigbee's 2.4 GHz) and handles up to 232 devices per network with slightly better wall penetration, though device selection remains narrower. Wi-Fi devices connect directly to your router without a hub, simplest for beginners but prone to network congestion if you add more than a dozen endpoints.
The fundamentals of planning a smart home automation system become crucial here—protocol choice dictates which devices can communicate five years from now. Matter, the cross-platform standard finalized in late 2024, promises interoperability between Apple, Google, Amazon, and Samsung ecosystems. As of 2026, Matter supports lighting, switches, sensors, locks, thermostats, and blinds, running over Thread (low-power mesh) or Wi-Fi. However, adoption remains incomplete; many established products still operate exclusively on Zigbee or proprietary systems.
For a home under 2,000 square feet with good Wi-Fi coverage, start with Matter-over-Thread devices paired with an Apple HomePod mini or Google Nest Hub (2nd gen)—both function as Thread border routers. Larger homes or those with complex layouts benefit from a dedicated Zigbee hub like Hubitat Elevation, which processes automations locally without cloud dependency, reducing latency from 800-1,200ms to under 100ms.
Latency matters most for motion-triggered lighting and security responses. Expect 50-150ms for local Zigbee/Thread automations, 300-1,500ms for cloud-dependent Wi-Fi systems. If someone walks into a dark hallway, the difference between instant illumination and a stumbling pause is the gap between "invisible intelligence" and "clunky tech."
Install Core Infrastructure in High-Traffic Zones First
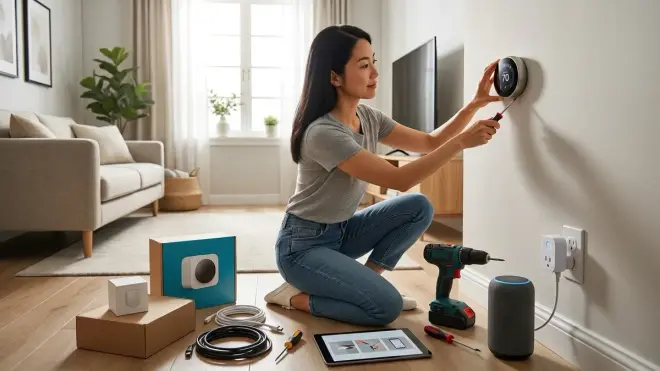
Begin with the spaces where automation delivers the highest daily return: entryways, primary hallways, and the kitchen work triangle. These zones benefit from occupancy-aware lighting that adapts to ambient conditions rather than simple on/off switching.
Replace one or two traditional switches with smart switches rather than relying on smart bulbs. In-wall switches preserve normal operation for visitors unfamiliar with app controls, and they don't lose smart functionality when someone flips the physical toggle. For Zigbee, the Inovelli Blue Series 2-in-1 Smart Switch offers scene control (double-tap for different brightness, hold for gradual dimming) with a discreet LED bar that can indicate door lock status or serve as a nightlight. The switch requires a neutral wire—older homes built before the 1980s often lack this fourth conductor in the electrical box, necessitating either a neutral-compatible smart switch (Z-Wave has better options here, like the Zooz ZEN72) or a bypass capacitor installation.
Installation logic for a hallway:
IF motion detected in hallway between 10 PM - 6 AM
  AND ambient light < 10 lux
THEN set hallway lights to 15% warm white (2200K)
  MAINTAIN for 90 seconds after last motion
  FADE out over 5 seconds

ELSE IF motion detected during 6 AM - 10 PM
  AND ambient light < 300 lux
THEN set hallway lights to 65% neutral white (3500K)
  MAINTAIN for 3 minutes after last motion
This pseudocode translates differently depending on your platform—Apple Home calls these "Automations" with time and sensor conditions; Hubitat uses "Rule Machine" with explicit IF/THEN/ELSE blocks; Samsung SmartThings labels them "Routines." The underlying logic remains identical.
Fallback behavior: If the motion sensor loses connection (battery depleted, signal interference), the physical switch still operates the lights manually. Always design automations so that failure modes default to manual control rather than leaving occupants in the dark.
Thread and Zigbee devices require at least one powered "router" device every 30-40 feet to maintain mesh integrity. Smart switches and smart plugs always stay powered and function as routers. Battery-operated sensors do not. When learning how to start smart home from scratch step by step, new users commonly install only battery-powered sensors, then experience dropped commands because the mesh lacks relay points.
Add Sensors That Inform Context, Not Just Presence
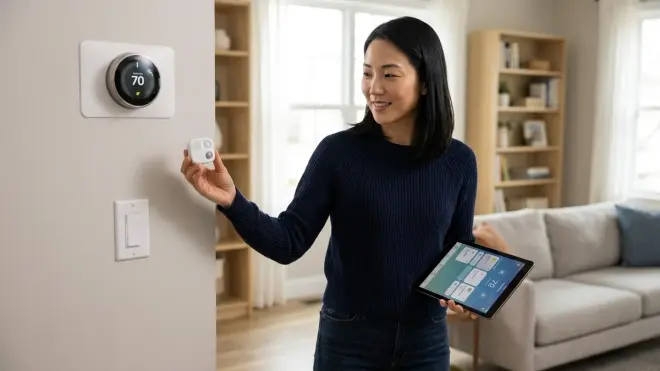
Presence detection marks whether a room is occupied. Context detection understands what's happening in that room. A motion sensor in the living room fires whether you're settling in to read or walking through to fetch something from another floor. A combination of motion + contact sensor on the sofa + ambient light sensor + time of day creates a richer data portrait.
Aqara makes Thread-compatible sensors (motion, door/window contact, temperature/humidity) that pair directly with Matter controllers and report changes in under 200ms on a stable mesh. The Aqara Motion and Light Sensor P2 combines PIR motion detection with ambient light measurement in a compact white module roughly the size of a walnut—visually unobtrusive when mounted in upper wall corners or on crown molding.
Strategic sensor placement:
- Primary entrance door contact sensor: Triggers "arrival" and "departure" scenes (disarm security, adjust thermostat setpoint, activate entry lighting or turn off all lights, lock doors)
- Bedroom motion sensor: Positioned to detect movement from bed toward bathroom, triggers nightlight path without waking a partner
- Kitchen water leak sensor: Placed under sink and near dishwasher; sends push notification if moisture detected (no automation can fix a leak, but early warning prevents damage)
- Living room multi-sensor: Tracks temperature, humidity, and occupancy to inform HVAC adjustments
Avoid over-sensing. Each additional input expands the logical complexity of automations and introduces new failure points. In one project, a client insisted on contact sensors for every cabinet door, imagining granular kitchen tracking. Within two weeks, the constant alerts and misfired routines (opening the spice cabinet shouldn't trigger the coffee maker) created frustration that poisoned their perception of the entire system. Start minimal. Observe what's missing. Add deliberately.
Interoperability limitation: Zigbee sensors will not directly communicate with Z-Wave switches, and vice versa. They require a multi-protocol hub (SmartThings, Hubitat, Home Assistant) to translate between networks. Wi-Fi sensors talk to cloud services, not to local devices, unless you route commands through a platform like Google Home or Alexa. Voice assistant protocol compatibility determines which devices can trigger which actions.
Design Lighting Scenes Around Daily Rituals, Not Rooms
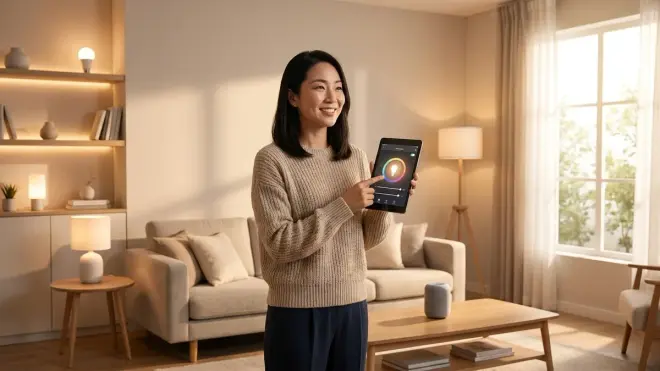
Most guides organize lighting by location: "bedroom lights," "kitchen lights." This misses how people actually experience their homes. Instead, design around the transitions between states of being: waking, working, cooking, unwinding, sleeping.
A "Morning Routine" scene might:
TRIGGER: First motion detected in primary bedroom after 5:30 AM on weekdays

SEQUENCE:
  1. Bedroom lights: fade from 0% to 35% warm white over 3 minutes
  2. WAIT 2 minutes
  3. Bathroom lights: set to 80% neutral white
  4. WAIT 5 minutes
  5. Kitchen under-cabinet lights: set to 50%
  6. Coffee maker smart plug: turn ON (if using a basic drip machine with mechanical switch)
  7. Living room shades: open to 60%
The sequencing creates rhythm rather than sudden activation. Light arrives rather than switching on. This requires smart switches or bulbs that support smooth dimming—not all do. Cheaper Wi-Fi bulbs often "step" through brightness levels in visible increments. Zigbee and Thread bulbs typically offer smoother transitions because they receive more frequent command updates over the mesh.
For clients who resist visible smart bulbs in decorative fixtures, I specify smart switches with dumb dimmable LEDs. The switch controls power and dimming just as a traditional dimmer would, but can be automated. This preserves the aesthetics of a carefully chosen chandelier or sconce while enabling scheduling and scene integration.
Recessed puck lights installed inside crown molding or behind floating shelves provide indirect illumination controlled via smart drivers hidden in the cavity. The light source itself disappears; only the glow on the ceiling or wall remains visible. Wire Zigbee LED drivers (like those from Quotra or Dresden Elektronik) into the fixture during installation. Control integrates with your broader system while maintaining clean sightlines.
When learning how to start smart home from scratch step by step, resist the temptation to automate every bulb immediately. Begin with one frequently used space, refine the timing and brightness over two weeks of real observation, then replicate the proven logic elsewhere.
Establish Reliable Automations Through Iterative Testing
An automation that works 95% of the time feels more broken than no automation at all. The occasional failure—lights that don't turn on, a lock that doesn't confirm engagement—erodes trust faster than delight accumulates.
Testing protocol for a new automation:
- Trigger the automation manually via app or voice at different times of day to confirm devices respond
- Observe natural triggers for 3-5 days without intervention; note false positives (lights turning on when a pet walks by) and missed activations (lights failing to turn on during actual use)
- Adjust sensitivity and timing thresholds—motion sensor timeout periods, lux thresholds for "dark enough to need lights," delay intervals between steps in a sequence
- Test failure modes—disconnect the hub, disable Wi-Fi, remove a mesh router device to see how the network degrades and whether fallback manual control works
- Document final logic in a notes app or spreadsheet with revision dates; you'll forget why you set a 47-second delay by the time you revisit it six months later
False positives often stem from motion sensors placed with a direct view of HVAC vents (moving air triggers PIR sensors) or windows where car headlights sweep through. Mounting sensors slightly higher than eye level and angling them downward reduces these phantom detections.
Reliability factors beyond your control:
- Cloud service outages: Wi-Fi devices dependent on manufacturer servers (TP-Link Kasa, Wyze, most Ring products) become unresponsive during outages. Zigbee/Z-Wave/Thread with local processing hubs maintain function even when internet drops.
- Firmware updates that change behavior: Manufacturers sometimes alter timing parameters or deprecate features in updates. Always read release notes before updating.
- Wireless interference: Zigbee and Wi-Fi both operate on 2.4 GHz. Microwave ovens, baby monitors, and neighboring Wi-Fi networks create noise. Thread is more resilient due to frequency hopping, but physical barriers still degrade signal.
The most reliable automations use multiple triggers with confirmation logic: "If motion detected AND door just opened AND time is between 5 PM - 11 PM, then..." This reduces false activations compared to single-condition triggers.
Integrate Voice and Manual Controls as Parallel Paths
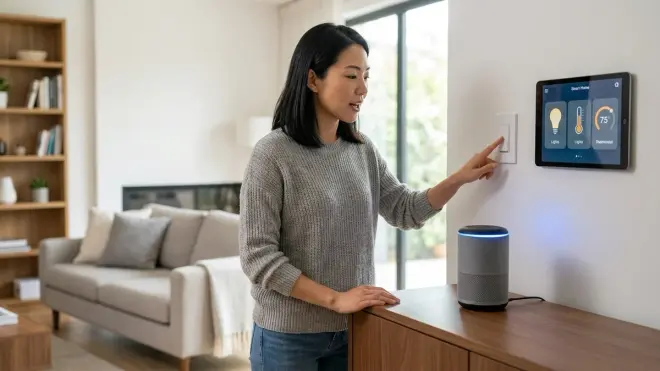
Voice assistants work beautifully when your hands are full or you're across the room. They fail when visitors don't know the exact phrasing ("Alexa, set the living room to movie mode" vs. "Alexa, turn on the movie lights"), when background noise interferes, or when you simply prefer tactile interaction.
Design every automation with at least two activation methods: voice command, physical switch or button, app control, or time/sensor trigger. This redundancy ensures the system serves different moods, abilities, and contexts.
Battery-powered scene controllers—small wireless buttons that mount on walls or furniture—offer a tactile alternative. The IKEA Rodret (Matter/Thread) is a minimalist two-button puck that can trigger different scenes with short press, long press, and double press. Place one on a nightstand to cycle through "Reading," "Relaxing," and "Sleep" lighting scenes without reaching for your phone.
For households with elderly family members or guests unfamiliar with smart systems, smart switches that look and function like traditional switches remove the learning curve. Lutron's Diva Smart Dimmer (works with Caséta, a proprietary but highly reliable 433 MHz protocol) has a physical paddle that operates exactly like a standard dimmer—slide to brighten, tap to toggle—while also responding to app and voice commands. The considerations between DIY smart home projects and professional installation often hinge on whether invisible integration requires running new wiring or modifying electrical boxes, tasks better suited to licensed electricians.
Expand Gradually Through Observation, Not Aspiration
After your core zones function reliably for a month, notice what still creates friction. Do you repeatedly adjust the thermostat at the same times? That's a signal for scheduled temperature changes or occupancy-based setpoints. Do you leave certain rooms with lights still on? Motion sensors with auto-off timers address that. Does your front door remain unlocked because you're carrying groceries? A smart lock with auto-lock after closure solves it.
Let genuine annoyance guide expansion rather than imagined scenarios. Many first-time builders automate guest bedrooms that host visitors twice a year, while their daily coffee-making routine remains manual. Return on investment—measured in time saved and friction reduced—concentrates in the spaces and moments you touch most often.
When adding new device categories (locks, thermostats, window coverings), verify protocol compatibility before purchase. A Matter-certified smart lock will work with your Thread network; a Zigbee lock will not, unless your hub supports both protocols. The comparison factors for evaluating smart devices include protocol support, local vs. cloud processing, power source, and physical dimensions that affect concealment options.
Common expansion sequence:
- Lighting and basic sensors (weeks 1-4)
- Smart plugs for lamps, fans, seasonal devices (weeks 5-8)
- Smart lock or video doorbell (months 3-4, after trust in system reliability is established)
- Climate control—smart thermostat or mini-split controllers (months 4-6)
- Window covering automation (months 6-12, often requires custom motorization)
Each addition increases system complexity. Document every device's protocol, hub association, firmware version, and role in automations. When troubleshooting, this record tells you whether a non-responsive bedroom lamp runs on Wi-Fi or Zigbee, connects to the Hubitat or directly to Google Home, and whether it participates in a "Goodnight" routine that might be preventing manual control.
The difference between Matter and Wi-Fi smart lights illustrates how protocol choice affects long-term flexibility. Wi-Fi devices often lock you into a manufacturer's ecosystem; Matter devices promise broader compatibility, though real-world implementations in 2026 still show rough edges during cross-platform control.
Pro Tips & Common Mistakes
Pro tip: Create a "Presence" virtual device or variable that tracks whether anyone is home based on phone location, door sensor activity, and motion patterns. Use this single data point as a condition in multiple automations rather than repeating identical logic. If someone arrives home after dark, a single "Presence changed to Home" trigger can activate entry lights, unlock the door, adjust temperature, and disarm security—one trigger, many coordinated actions. Most hubs support variables or virtual switches for this purpose.
Common mistake: Automating lights before understanding ambient light patterns. A client once automated her home office to turn on lights at 8 AM every weekday. East-facing windows meant the room was already flooded with direct sun until late morning. The lights served no purpose until afternoon. Add a "lux < X" condition to every lighting automation so it activates only when actually needed.
Pro tip: Name devices and scenes descriptively in a consistent format. "Hallway Motion Sensor" and "Hallway Ceiling Light" group alphabetically and clarify relationships. "Sensor 3" and "Light 12" become unintelligible once you have thirty devices. This naming discipline prevents the confusion that leads to abandoning the system.
Common mistake: Placing a Zigbee hub on the same shelf as the Wi-Fi router. The 2.4 GHz radio signals interfere with each other. Separate them by at least six feet, ideally in different rooms if using a mesh router setup.
Pro tip: Set smart plug schedules to power-cycle the network hub weekly at 3 AM. Many hub platforms develop memory leaks or stuck processes after weeks of continuous operation. A weekly reboot prevents gradual performance degradation and takes one minute of uptime loss during a period when automations rarely run.
Frequently Asked Questions
What is the most reliable smart home protocol for beginners learning how to start smart home from scratch step by step?
Matter-over-Thread offers the best balance of reliability, cross-platform compatibility, and future-proofing for beginners in 2026, as it works across Apple, Google, Amazon, and Samsung ecosystems without locking you into a single vendor, though device selection remains narrower than mature Zigbee offerings.
How many smart devices can one hub support before performance degrades?
Zigbee hubs typically support 30-40 direct connections before requiring additional powered router devices to extend the mesh, while Z-Wave handles up to 232 devices per network, and Thread networks scale to hundreds of devices due to efficient mesh routing, though practical limits depend on automation complexity and polling frequency.
Do smart home automations continue working if the internet connection drops?
Local processing hubs running Zigbee, Z-Wave, or Thread continue executing automations during internet outages, while Wi-Fi devices that depend on cloud servers (most TP-Link, Kasa, Wyze, and Govee products) become unresponsive until connectivity restores, which is why local control capability is critical for reliability.
How long does it take to set up a basic smart home system from scratch?
Expect 4-6 hours for initial hub setup and first-device pairing, then 2-3 weekends to install switches and sensors in 3-4 rooms and refine automation logic through real-world testing, with ongoing adjustments over the following month as you observe daily patterns and edge cases.
Summary
Learning how to start smart home from scratch step by step means building a foundation that respects both the architecture of your space and the rhythms of how you live in it. Begin with a single protocol family compatible with your chosen hub, install infrastructure in high-traffic zones, add sensors that provide context rather than just presence, and design automations around daily rituals that create a sense of anticipation rather than reaction. Test every automation through multiple real-world cycles before expanding. Let friction guide your next additions, not aspirational scenarios. Expand parallel control paths—voice, physical, scheduled—so the system serves different needs and abilities. The homes that feel most naturally intelligent are the ones where technology has learned to wait in the wings, emerging only when its contribution improves the moment. That learning process takes time, observation, and a willingness to refine rather than deploy and forget. Start small, watch closely, and let the space teach you what it needs.