
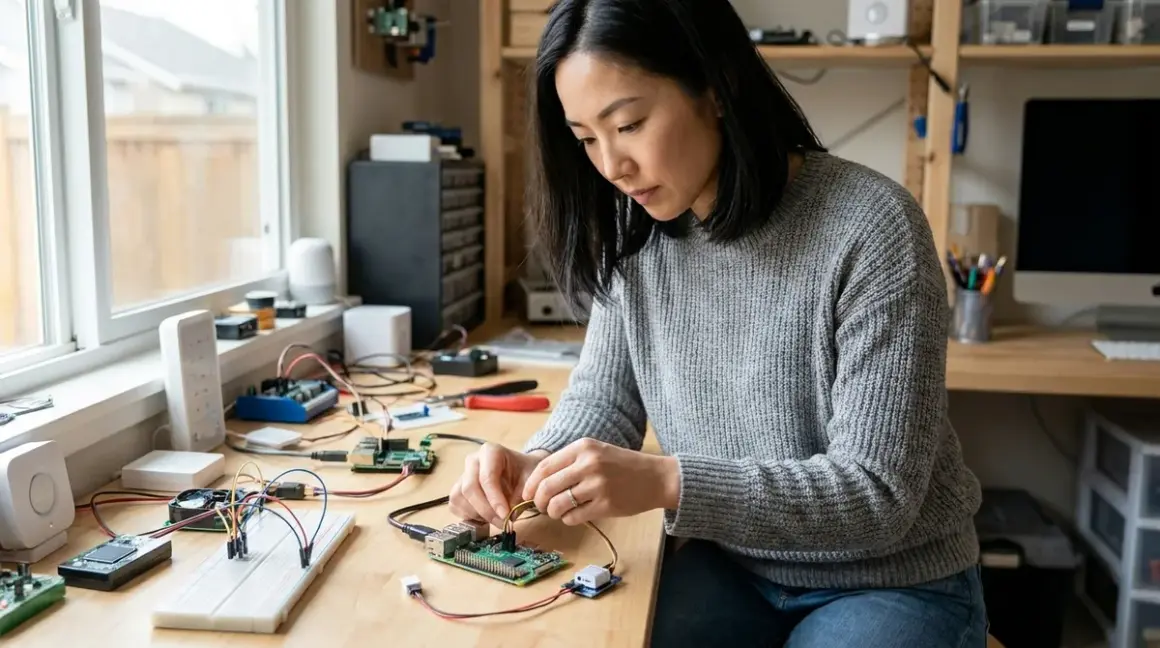

The beauty of raspberry pi zero home automation lies not in the device itself—a modest circuit board the size of a business card—but in how completely it can disappear. Over the past decade, I've watched clients grow weary of smart home setups that announce themselves: tablets mounted on walls, hubs blinking on countertops, voice assistants perched on nightstands like digital sentries. The Raspberry Pi Zero offers a different path. Tuck it behind a bookshelf, nest it inside a console table, mount it beneath a floating credenza—and from that hidden position, orchestrate lighting shifts, climate adjustments, and presence detection that feels intuitive rather than technological.
This guide walks you through building a raspberry pi zero home automation system that prioritizes lived experience over visible gadgetry. You'll learn to select protocols that suit your existing architecture, configure the logic that drives daily rituals, and troubleshoot the friction points that separate reliable automation from experiments that frustrate. Expect to spend a focused weekend on initial setup—longer if you're routing cable through walls or integrating legacy devices—but the foundation you build will support years of refinement.
Skill level: Comfortable with command-line interfaces and basic networking concepts. You don't need programming fluency, but you should be willing to edit configuration files and follow structured syntax.
What You'll Need
Hardware
- Raspberry Pi Zero 2 W (the 2 W variant; the original Zero struggles with multi-protocol coordination)
- microSD card, 32GB minimum, Class 10 or better
- USB power supply, 5V/2.5A with micro-USB connector
- Zigbee USB coordinator stick (Sonoff Dongle-E or ConBee II; avoid generic adapters—they introduce latency spikes)
- OR Z-Wave USB stick (Aeotec Z-Stick 7, only if your existing devices require it; Z-Wave mesh networks add approximately 40–80ms latency versus Zigbee's 20–30ms)
- Ethernet adapter (optional but recommended for initial setup; Wi-Fi configuration can be finicky on first boot)
Software
- Home Assistant OS image (download from the official Home Assistant website)
- Balena Etcher or Raspberry Pi Imager for flashing the microSD card
- SSH client (Terminal on macOS/Linux, PuTTY on Windows)
Existing Smart Home Devices (examples for protocol clarity)
- Zigbee: Philips Hue bulbs (without the Hue Bridge), IKEA Trådfri motion sensors, Aqara door/window sensors
- Z-Wave: GE/Jasco in-wall switches, Fibaro motion sensors, Yale smart locks
- Wi-Fi: TP-Link Kasa smart plugs, Shelly relays (these connect directly; no hub required)
- Thread/Matter: Eve Energy plugs, Nanoleaf bulbs (as of 2026, Matter support in Home Assistant is stable but still maturing—expect occasional firmware updates)
The Raspberry Pi Zero acts as the central hub, replacing proprietary ecosystems like SmartThings or Hubitat. This consolidation means fewer apps, fewer cloud dependencies, and faster local processing—most automations execute in under 100 milliseconds when devices share the same protocol.
Step 1: Flash and Configure the Base System
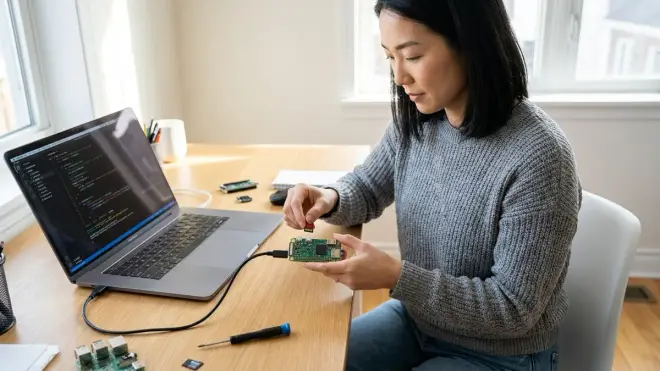
Download the Home Assistant OS image specific to the Raspberry Pi Zero 2 W. Open Balena Etcher, select the downloaded image, choose your microSD card, and flash. The process takes three to five minutes.
Before removing the card, create a network folder in the boot partition and add a my-network file with your Wi-Fi credentials:
[connection]
id=my-network
type=wifi

[wifi]
ssid=YourNetworkName
mode=infrastructure

[wifi-security]
key-mgmt=wpa-psk
psk=YourPassword

[ipv4]
method=auto

[ipv6]
method=auto
This pre-configuration sidesteps the need to connect a monitor and keyboard—the Pi will join your network on first boot. Insert the microSD card, connect power, and wait eight to ten minutes. Home Assistant initializes slowly on the Zero 2 W; patience here prevents false troubleshooting later.
Navigate to http://homeassistant.local:8123 in a browser. If that address fails, check your router's connected devices list for the Pi's IP and use that directly. Create your admin account, name your home, and set your time zone. The onboarding process auto-detects some devices—ignore these for now. We're building from the foundation up, not accepting defaults.
Invisible Alternative: Mount the Pi inside a shallow drawer beneath a console table or behind a picture frame with ventilation gaps. The device generates minimal heat (under 50°C at idle), so passive cooling suffices. Run a single micro-USB cable to a hidden outlet or use a power-over-Ethernet splitter if you've added the Ethernet adapter. The goal is zero visible hardware—only the effects of automation.
Step 2: Install Protocol Integrations and USB Coordinators
Plug your Zigbee or Z-Wave USB stick into the Pi's micro-USB port using an OTG adapter. Home Assistant should detect the hardware automatically, but protocol support requires explicit integration.
Navigate to Settings → Devices & Services → Add Integration. Search for Zigbee Home Automation (ZHA) if you're using a Zigbee stick, or Z-Wave JS for Z-Wave. Follow the prompts to select the USB device path (usually /dev/ttyUSB0 or /dev/ttyACM0). ZHA configures in under a minute; Z-Wave JS requires an additional container download that takes two to three minutes on the Pi Zero 2 W.
For Wi-Fi devices, search for brand-specific integrations—TP-Link Kasa, Shelly, Tuya—and authenticate with your device credentials. These integrations poll your local network; no cloud relay required. Expect 200–500ms response times for Wi-Fi devices versus 20–80ms for Zigbee/Z-Wave, a perceptible difference when dimming lights or triggering scenes.
If you're incorporating Thread/Matter devices, install the Matter (Beta) integration. Pair each device through its manufacturer app first, then share it to Home Assistant via the Matter protocol. As of 2026, cross-brand Matter reliability hovers around 92%—impressive but not flawless. Keep manufacturer apps installed as fallback control paths.
Latency expectations: Zigbee commands execute fastest (20–30ms typical), Z-Wave next (40–80ms), Wi-Fi slowest (200–500ms depending on network congestion). Thread/Matter latency matches Zigbee when devices are within three hops of the border router (your Pi), but degrades beyond that. Design automations with these timing realities in mind—Wi-Fi switches work fine for single-action triggers but feel sluggish in multi-step scenes.
Step 3: Pair Devices and Build Your Mesh Network
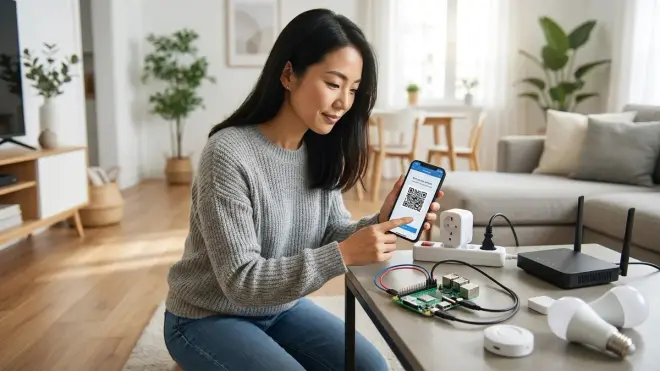
Begin pairing devices closest to the Pi, then work outward. This builds your mesh network concentrically, ensuring each new device has a strong parent node to connect through.
For Zigbee: Navigate to the ZHA integration, click Add Device, and put your sensor or bulb into pairing mode (usually a five-second button hold). The device appears within thirty seconds. Repeat for each Zigbee device, waiting sixty seconds between pairings to let the mesh recalculate routes.
For Z-Wave: Open Z-Wave JS, click Add Node, and trigger pairing on your switch or lock (consult the device manual; methods vary). Z-Wave pairing is slower—expect one to two minutes per device—and more finicky about proximity during the initial handshake. Bring the Pi to the device location if necessary, then return it to its permanent spot and perform a Heal Network action overnight to optimize routes.
For Wi-Fi devices: Most auto-discover on your network. Check the integration page for any that don't appear automatically and add them by IP address.
Place powered devices—smart plugs, in-wall switches, hardwired bulbs—strategically. These act as mesh repeaters, strengthening signal for battery-powered sensors further away. I once resolved a client's unreliable motion sensor by relocating a Zigbee smart plug from their kitchen to a hallway outlet fifteen feet closer—the sensor's latency dropped from 2.3 seconds to 180 milliseconds.
Mesh reliability factors: Zigbee and Z-Wave both self-heal, but Zigbee does so dynamically while Z-Wave requires manual network healing after adding devices. If you're mixing protocols, prioritize Zigbee for sensors that trigger time-sensitive automations—lighting transitions, door chimes—and reserve Z-Wave for high-security devices like locks, where encryption overhead justifies the latency trade-off.
Step 4: Design Automations That Feel Like Intuition
Automation logic transforms a collection of devices into a cohesive environment. The syntax is straightforward: trigger → condition → action. The artistry lies in choosing triggers that align with natural behavior patterns, not just technical capability.
Navigate to Settings → Automations & Scenes → Create Automation → Start with an Empty Automation. Here's a foundational example I use in nearly every project:
Morning Light Cascade
Trigger: Time is 6:45 AM
Condition: Sun elevation is below 10° (ensures it only fires on dark mornings)
Actions:
- Bedroom: Dim Zigbee bulbs to 5% warm white (2700K), 0.5-second fade
- Wait 60 seconds
- Hallway: Turn on Zigbee bulbs to 20%, 2-second fade
- Wait 90 seconds
- Kitchen: Turn on under-cabinet LED strip to 40%, 3-second fade
IF time == 06:45 AND sun.elevation < 10°
THEN
  light.bedroom_main.turn_on(brightness=5%, color_temp=2700K, transition=0.5)
  WAIT 60s
  light.hallway_main.turn_on(brightness=20%, transition=2)
  WAIT 90s
  light.kitchen_undercabinet.turn_on(brightness=40%, transition=3)
The staggered timing creates a gradient of wakefulness that feels like natural sunrise rather than abrupt illumination. Adjust fade durations and brightness percentages until the progression suits your household's rhythm.
Presence-Aware Climate Adjustment
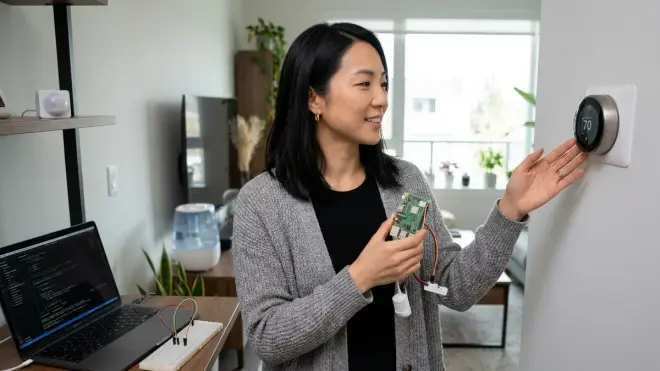
Trigger: Front door contact sensor changes to "open"
Condition: No motion detected in any room for 30 minutes (indicating departure, not arrival)
Actions:
- Set thermostat to 68°F (winter) or 78°F (summer)
- Turn off all lights except porch and entry
- Arm security system to "away" mode
IF sensor.front_door == "open" AND
   (binary_sensor.living_room_motion.last_changed > 30min AND
    binary_sensor.bedroom_motion.last_changed > 30min AND
    binary_sensor.kitchen_motion.last_changed > 30min)
THEN
  climate.main_thermostat.set_temperature(target_temp=68F)
  light.all_interior.turn_off(exclude=['light.porch', 'light.entry'])
  alarm_control_panel.main.arm_away()
This automation requires multi-sensor confirmation to avoid false triggers when someone steps outside briefly. The condition checks motion history across multiple rooms—a reliability safeguard that prevents the system from thinking you've left while you're reading in a quiet room.
Fallback behaviors: Every automation with a trigger that could fail (network hiccup, dead sensor battery, firmware glitch) needs a fallback. For the climate example above, I add a secondary time-based check:
IF time == 09:00 AND climate.main_thermostat.current_temperature < 65F
THEN
  climate.main_thermostat.set_temperature(target_temp=70F)
  notify.mobile_app.send_message("Morning temperature override triggered—check automation logic")
This catches mornings when the door sensor didn't fire or motion detection misfired, ensuring you don't return to a cold house.
For those building a first system from scratch, the fundamentals of starting smart home from scratch step by step provide broader context on sequencing device additions and avoiding protocol conflicts.
Step 5: Configure Voice Control Without Visible Assistants
Voice assistants typically require dedicated speakers—the antithesis of invisible design. The Pi Zero 2 W can't run local voice processing (it lacks the CPU headroom), but it can relay commands to cloud-based assistants without placing physical devices in living spaces.
Install the Alexa Media Player or Google Assistant SDK integration. Link your Amazon or Google account, then configure routines within those ecosystems that trigger Home Assistant scenes via webhook URLs.
Example workflow:
- In the Alexa app, create a routine: "Alexa, bedtime" → trigger custom action → webhook URL pointing to Home Assistant's
/api/webhook/bedtime_scene - In Home Assistant, create a webhook automation that listens for that URL and executes:
- Turn off all lights except bedroom, dim to 10%, shift to 2200K
- Lock front door (Z-Wave lock, latency ~1.2 seconds)
- Set thermostat to 65°F
- Arm security system to "night" mode
The voice processing happens on Amazon's servers; your Pi merely receives the final command. You speak to your phone, the automation executes, and no Echo Dot sits on your nightstand.
Latency: Cloud-based voice commands add 800ms–1.5 seconds compared to local triggers. That delay is imperceptible for scene activation but frustrating for rapid toggling. Use voice for infrequent, multi-step routines; rely on sensors and time-based triggers for moment-to-moment responsiveness.
Interoperability limitations: Alexa and Google Assistant handle Zigbee and Wi-Fi devices directly, but Z-Wave devices require Home Assistant as a bridge. If you've invested heavily in Z-Wave switches, expect to route all voice commands through Home Assistant rather than native assistant skills. This works reliably but adds configuration overhead.
For households concerned about phantom power draw across multiple protocol coordinators, smart home power monitoring systems can quantify actual consumption—the Pi Zero 2 W with a Zigbee stick typically pulls 1.2–1.8 watts continuously.
Step 6: Conceal Wiring and Sensors in Architectural Details
The technical setup is half the equation. Physical integration determines whether your raspberry pi zero home automation system enhances ambiance or disrupts it.
Motion Sensors
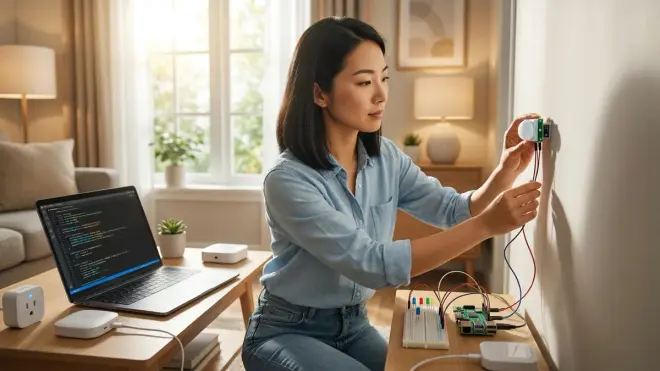
Standard motion sensors—white plastic domes screwed to ceilings—broadcast their presence. Instead, recess Aqara FP2 Millimeter-Wave Presence Sensors into ceiling coffers or behind acoustically transparent fabric panels. These sensors detect micro-movements (breathing, typing) rather than requiring gross motion, so they work even when someone sits still reading. Mount them 7–9 feet high for optimal coverage, angled toward seating areas.
Trade-off: Millimeter-wave sensors cost three to four times more than passive infrared (PIR) options and occasionally false-trigger from ceiling fan motion. Adjust sensitivity in the device settings until the balance feels natural.
Door/Window Sensors
Embed reed switch sensors within the door jamb itself rather than surface-mounting contact sensors. This requires routing thin wire through the jamb cavity—simple during new construction, tedious in retrofit scenarios. For existing homes, place sensors on the hinge side of the door where they align with the jamb profile and blend into shadow.
For French doors or full-glass entries where any sensor reads as clutter, substitute vibration sensors (Zigbee protocol) adhered to the interior glass pane. These detect the mechanical disturbance of opening but don't require a second magnet contact, reducing visible hardware by half.
Temperature and Humidity Sensors
Tuck these behind floating shelves, inside decorative objects with ventilation (ceramic bowls, wire baskets), or beneath furniture overhangs. The sensor needs air circulation but not direct visibility. I've nested them inside the hollow bases of table lamps, routed the Zigbee antenna through a drilled hole, and achieved readings within 0.3°C of exposed placement.
Reliability factor: Concealed sensors collect dust more rapidly, and dust acts as thermal insulation—skewing temperature readings by 1–2°C after six months. Schedule biannual cleaning or accept the drift and calibrate periodically.
Cable Management
Route USB cables and Ethernet behind baseboards using adhesive-backed channels, or surface-mount them along trim edges in the same finish as your wall color. The Pi itself can live inside a credenza, nightstand, or media console—anywhere with passive airflow and proximity to a power outlet. Avoid fully sealed cabinets; the Pi's modest heat output still needs dissipation.
Step 7: Test, Iterate, and Build Fallback Routines
Your first automation suite will feel clumsy—lights that fire too bright, sensors that miss your presence, voice commands that misfire. This is expected. Inhabit your space for a week, note every moment of friction, then revise.
Testing Protocol
For each automation:
- Trigger it manually from the Home Assistant interface (test the action logic)
- Wait for the natural trigger condition (test the real-world sensor behavior)
- Intentionally break the trigger (disconnect a sensor, block motion detection) and observe fallback behavior
Example friction point I encounter often: Motion-activated lighting in hallways that turns off while you're standing still. Standard PIR sensors time out after sixty seconds of no motion, plunging you into darkness mid-task. The fix:
IF motion.hallway_sensor == "detected"
THEN
  light.hallway_main.turn_on(brightness=60%)
  START timer.hallway_occupancy(duration=5min)

IF motion.hallway_sensor == "clear" AND timer.hallway_occupancy.finished == true
THEN
  light.hallway_main.turn_off(transition=3s)
This extended occupancy timer keeps lights on for five minutes after the last detected motion, bridging the gap when you pause to check your phone or tie a shoe.
Fallback Routines
Every automation with external dependencies (cloud APIs, internet connectivity, battery-powered sensors) needs a graceful degradation path:
- If Zigbee coordinator disconnects: Revert critical lights to manual control via physical switches. Install Zigbee switches that retain last-known state even when the coordinator is offline.
- If Home Assistant crashes: Use smart plugs with local firmware timers (Shelly devices support this) to maintain basic schedules—outdoor lights on at dusk, off at dawn—independent of the Pi.
- If motion sensors go offline: Fall back to time-based automations. If motion hasn't been detected in the living room by 10 PM, assume occupancy and leave path lighting active.
The best raspberry pi zero home automation systems are those you don't notice—and that includes failures. You should never stand in a dark hallway waiting for a mesh network to heal itself.
For deeper exploration of how different protocol stacks coexist—or conflict—within a single hub, multi-protocol smart home hubs addresses interoperability pitfalls across Zigbee, Z-Wave, Thread, and Matter.
Step 8: Monitor System Health and Plan Maintenance Windows
The Pi Zero 2 W runs reliably for months without intervention, but raspberry pi zero home automation requires periodic attention to sustain performance.
Weekly Checks
- Review the Home Assistant System Log for warnings about failed device communications or integration errors
- Check battery levels on wireless sensors (most Zigbee sensors report battery percentage; replace or recharge anything below 20%)
- Verify automation execution times—if a routine that normally fires in 80ms suddenly takes 2.3 seconds, your mesh network may be congested or a repeater device has gone offline
Monthly Maintenance
- Update Home Assistant OS and integrations: Navigate to Settings → System → Updates. Stage updates for mid-morning when you're home and can troubleshoot if something breaks. Major version updates (e.g., 2026.1 to 2026.2) occasionally introduce breaking changes to custom integrations—read the release notes first.
- Reboot the Pi: Home Assistant's memory footprint grows slowly over time. A monthly reboot clears caches and restarts all services cleanly. Schedule this for 3 AM when automations are least active.
Quarterly Deep Dive
- Heal Z-Wave networks: If you're using Z-Wave devices, perform a full network heal. This recalculates optimal routes and can shave 30–50ms off command latency.
- Audit unused devices and integrations: Deprecated devices clutter the interface and consume CPU cycles. Remove any hardware you've decommissioned.
- Backup configuration: Home Assistant includes a built-in backup tool (Settings → System → Backups). Download a copy to an external drive. Recovery from a corrupted microSD card takes five minutes if you have a recent backup, two days if you don't.
Reliability over time: The Pi Zero 2 W's microSD card is the lifeblood of your system—and its Achilles heel. Consumer-grade cards fail after 8,000–10,000 write cycles, a threshold you'll approach within two to three years of logging sensor data every few seconds. Migrate to an industrial-grade microSD card (SanDisk High Endurance, Samsung PRO Endurance) rated for continuous write operations. These cost marginally more but last three to five times longer.
Invisible Alternative: House the Pi inside a media console with ventilated sides, alongside your router or modem. The uniform blinking LEDs blend together, and the entire stack reads as "network infrastructure" rather than "smart home hub." Label the Pi's power supply with a small engraved tag so future you—or a technician—knows which cable not to unplug.
Pro Tips & Common Mistakes
Start with lighting, not security. Lighting automations forgive mistakes—you flip a switch manually and move on. Security automations that fail (a door that doesn't lock, a camera that doesn't record) erode trust in the entire system. Build confidence with low-stakes routines before layering in high-consequence devices.
Name devices descriptively, not generically. "Living Room Lamp" is clearer than "Bulb 3." Six months from now, when you're troubleshooting an automation at midnight, you won't remember which numbered bulb corresponds to which fixture. Use room names, fixture types, and cardinal directions: "bedroom_east_sconce," "kitchen_undercabinet_south."
Avoid chaining Wi-Fi devices in time-critical automations. A motion sensor triggering a Wi-Fi bulb introduces 200–500ms latency. That delay feels sluggish—lights that respond a half-second after you enter a room read as laggy, not intelligent. Use Zigbee or Z-Wave for anything requiring sub-100ms response times.
Test automations during the conditions they're meant to handle. An automation that dims lights at sunset works beautifully in summer when sunset occurs at 9 PM and you're awake to observe it. In winter, when sunset arrives at 4:30 PM and you're commuting home, that same automation might fire while the house is empty—wasting energy and giving the illusion of occupancy you didn't intend. Add occupancy conditions (motion detected in the past thirty minutes) to prevent this.
Common mistake: Pairing battery-powered Zigbee sensors too far from powered repeaters during initial setup, then wondering why they drop offline after a week. Battery devices conserve power by checking in with the network infrequently—if the signal path is marginal during pairing, it becomes unusable once the device enters deep sleep mode. Pair near a powered device, then relocate if needed.
Common mistake: Installing fifteen integrations on day one, then struggling to isolate which one is causing intermittent crashes. Add integrations sequentially, run the system for a day between additions, and monitor the System → Logs page for errors. Home Assistant is modular and tolerant, but some integrations poll cloud APIs aggressively and overwhelm the Pi Zero's modest CPU.
Invisible integration: If a spouse or housemate resists smart home technology on aesthetic grounds, begin with felt-not-seen improvements—automated bathroom fan shutoff after humidity drops, closet lights that turn on when the door opens, a bedside lamp that dims gradually over ten minutes before your alarm. These enhancements dissolve objections because they solve friction without introducing visual clutter.
Frequently Asked Questions
Can the Raspberry Pi Zero W (original, not the 2 W version) handle Home Assistant reliably?
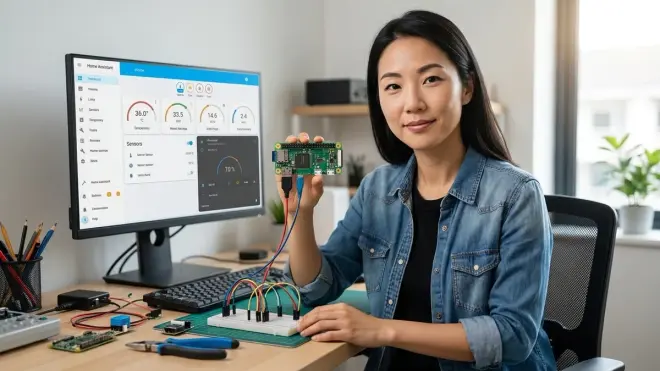
The original Pi Zero W struggles with multi-protocol coordination and becomes sluggish once you pair more than eight to ten devices. Home Assistant's interface loads slowly (ten to fifteen seconds per page), and automations fire with noticeable delays—often one to two seconds after the trigger condition. The Pi Zero 2 W's quad-core processor resolves these bottlenecks, handling thirty to forty devices comfortably with sub-100ms automation response times. If you already own the original Zero W, it can run a minimal setup (Zigbee coordinator plus ten devices), but plan to upgrade within six months as your system grows.
How do I migrate from a proprietary hub like SmartThings to Raspberry Pi Zero home automation without re-pairing every device?
Zigbee devices can be migrated directly if you perform a coordinator backup before removing the old hub. In Home Assistant's ZHA integration, use the Migrate Radio tool to transfer the network key and device list from your SmartThings hub's Zigbee coordinator to your new USB stick. This preserves pairings for 80–90% of devices; a handful may require re-pairing due to manufacturer-specific quirks. Z-Wave devices require exclusion from the old hub and re-inclusion on the new one—there's no direct migration path. Wi-Fi devices switch instantly since they don't rely on a hub at all.
What happens to my automations if the internet goes down but my local network stays up?
Home Assistant processes automations entirely on the Pi—no cloud dependency. Zigbee, Z-Wave, and locally controlled Wi-Fi devices (Shelly, Kasa with local control enabled) continue functioning normally. Voice commands routed through Alexa or Google Assistant fail because those require cloud processing, but sensor-triggered and time-based automations execute without interruption. The exception: integrations that pull data from external APIs (weather services, calendar syncing) will stale until connectivity returns, but they won't crash the system.
How much power does a Raspberry Pi Zero home automation setup consume, and will it increase my electricity bill noticeably?
The Pi Zero 2 W draws 0.4–0.8 watts at idle and 1.2–1.8 watts under moderate load (twenty Zigbee devices, five active automations). A Zigbee USB coordinator adds 0.2–0.4 watts. Running 24/7, the combined system consumes approximately 15–20 kWh annually—around two to three dollars per year in most North American markets. By comparison, leaving a single 60-watt incandescent bulb on for eight hours daily consumes 175 kWh annually. The Pi's energy footprint is negligible, and if your automations reduce lighting or HVAC waste by even a few percent, the system pays for its own consumption within weeks.
Invisible Intelligence That Serves, Not Dominates
The Raspberry Pi Zero 2 W won't win design awards. Its bare circuit board and exposed components feel utilitarian, almost austere. But that humility is precisely why it succeeds where branded smart home hubs fail—it doesn't demand center stage. Concealed behind furniture, mounted beneath surfaces, or nested inside architectural voids, the device becomes infrastructure rather than ornament.
The automations you've built—lighting that shifts with daylight, climate that adjusts to presence, security that arms itself when you leave—recede into the background of daily life. Guests won't ask about your smart home setup because they won't perceive it as a setup at all. They'll simply notice that your home feels responsive, that transitions between rooms happen smoothly, that the environment adapts without announcement.
That responsiveness requires ongoing refinement. The raspberry pi zero home automation system you deploy this weekend is version one—a functional foundation. Over months, you'll discover new friction points: a hallway that stays dark too long, a thermostat that overcorrects, a voice command that misfires. Each adjustment sharpens the system's intuition until the gap between intent and action narrows to imperceptibility.
The technology exists to serve ambiance, not replace it. When light dims gradually rather than clicking off, when temperature shifts preemptively rather than reactively, when doors lock themselves after you've left—these are gestures of attentiveness, not intrusion. Your home becomes a collaborator in daily rituals rather than a passive stage, and the device orchestrating that transformation remains exactly where it belongs: hidden, silent, and tireless.