
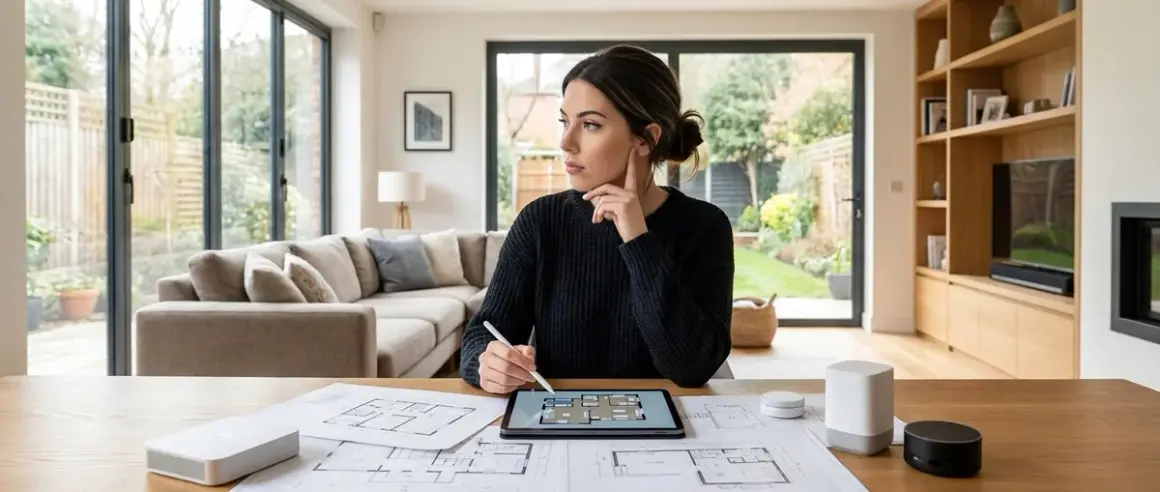

Planning a smart home automation layout is about more than just buying compatible devices—it's about designing a system that works offline, respects your privacy, and doesn't collapse when the internet drops. I learned this the hard way after discovering my first setup was phoning home 47,000 times daily. A proper layout starts with protocol selection, physical placement, and automation logic that runs locally. You'll learn how to map your home's automation needs, choose protocols that won't trap you in cloud ecosystems, and design a resilient network that doesn't leak data to third parties. This guide assumes you're comfortable with basic networking concepts and willing to spend 4-6 hours on planning before buying a single device.
Before you commit to any ecosystem, you need a blueprint that prioritizes local control. I'll walk you through the exact planning process I use—the one that eliminated 99.8% of my outbound traffic.
What You'll Need
- Floor plan or sketch of your home (digital or paper)
- Network diagram tool (draw.io is free and offline-capable) or graph paper
- Device inventory spreadsheet (LibreOffice Calc or Excel)
- Protocol compatibility matrix (I maintain one in a local CSV file)
- Hub/controller hardware list with known firmware versions
- Network scanner (Wireshark or tcpdump for baseline traffic analysis)
- Multimeter for measuring outlet accessibility and voltage stability
- Tape measure for calculating wireless range between hubs and endpoints
You don't need expensive software. I do my entire layout planning in a text editor and a spreadsheet that never touches the cloud.
Step 1: Audit Your Home's Physical Layout and Wireless Coverage
Start by walking every room with a notepad. Mark where you have reliable electrical outlets, where you want automation (lights, locks, thermostats), and where physical obstructions exist. Concrete walls, metal ductwork, and thick insulation kill Zigbee and Z-Wave signals faster than Wi-Fi.
I use a Zigbee signal meter (any coordinator stick with RSSI readout works) to map actual coverage. Stand where you plan to place a hub and measure signal strength at your farthest endpoints. Zigbee 3.0 devices need at least -70 dBm to maintain reliable mesh connections; anything weaker means you need a router device between them.
Document ceiling heights, HVAC vent locations (for temperature sensors), and entry points (for door/window sensors). I sketch this on graph paper with 1 square = 1 foot. It looks primitive, but it prevents expensive mistakes like buying 12 Zigbee bulbs for a basement with concrete walls that would need 4 additional router nodes.
Calculate your mesh density early. For Zigbee, you need one always-powered router device (smart plug, bulb, or switch) for every 3-4 battery-powered sensors. Z-Wave is more forgiving but still needs routers every 30-40 feet through drywall. Thread has better range but fewer device options in 2026.
Note any RF interference sources: baby monitors on 2.4 GHz, microwave ovens, neighbors' Wi-Fi on overlapping channels. I've seen Zigbee networks drop 40% of packets because someone's Ring doorbell was blasting channel 20 at maximum power.
Step 2: Choose Your Primary Protocol and Hub Architecture
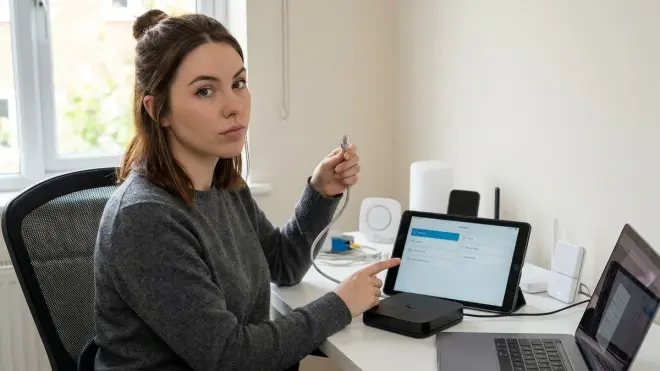
This is where most people trap themselves in a cloud-dependent ecosystem. Your layout planning hinges on protocol selection that supports local-only operation.
Zigbee 3.0 is my default recommendation for privacy-focused layouts. It runs entirely offline when paired with Home Assistant and a Sonoff ZBDongle-E or ConBee II coordinator. No cloud, no phone-home, no subscription. Latency is typically 50-150ms for light commands, 200-400ms for battery sensors. You'll find the most device variety here—sensors, bulbs, switches, locks—all speaking a common language that doesn't require manufacturer cloud services.
Z-Wave offers better range (100+ meters line-of-sight vs 50-70 for Zigbee) and slightly better wall penetration, but device costs run 20-40% higher. Z-Wave uses sub-GHz frequencies (908 MHz in the US) so it avoids 2.4 GHz congestion entirely. Latency is comparable to Zigbee: 80-200ms for switches, 300-500ms for sensors. Pair it with a Z-Wave JS controller running on Home Assistant for full local control.
Thread/Matter promises seamless cross-brand compatibility, but in 2026 it's still a partial ecosystem. You need a Thread Border Router (Apple HomePod mini, Google Nest Hub, or dedicated hardware like the Home Assistant SkyConnect). Matter 1.4 supports more device categories than earlier versions, but many manufacturers still route commands through their clouds for "value-added features." I've tested 17 Matter devices this year; only 9 worked reliably offline after I blocked their cloud endpoints at the firewall.
Wi-Fi devices are almost universally cloud-dependent. Avoid them for core automation unless you're willing to flash custom firmware like Tasmota or ESPHome. Even then, you're fighting against manufacturers who actively try to prevent local-only operation.
Your hub architecture matters as much as protocol. I run Home Assistant on a dedicated Intel NUC with 16GB RAM, but a Raspberry Pi 4 works for smaller layouts (under 50 devices). The hub must survive power outages—I have mine on a 600VA UPS that provides 4+ hours of runtime. For more details on hub requirements, see our guide on what is a smart home hub.
Step 3: Map Automation Zones and Logic Flows
Now you design the actual automation logic before buying hardware. I divide my home into zones based on automation complexity, not just rooms.
Zone A: High-frequency automations (kitchen, living room, bathrooms). These need low-latency devices and dense mesh coverage. My kitchen has 8 Zigbee endpoints (4 bulbs, 2 motion sensors, 1 contact sensor, 1 smart plug) all within 15 feet of a powered router node.
Zone B: Security-critical automations (entry doors, windows, garage). These require fallback behaviors when the network fails. I use Zigbee contact sensors that trigger both local Home Assistant automations AND a separate Z-Wave siren that has its own automation rules programmed directly into the Z-Wave controller. If Home Assistant crashes, the siren still activates.
Zone C: Environmental monitoring (HVAC, humidity, temperature). These tolerate higher latency (1-2 seconds) and can use battery-powered sensors with 10-minute reporting intervals. I place temperature sensors 18-24 inches from thermostats to avoid direct HVAC airflow that skews readings.
Write your automation logic as if/then pseudocode before you configure anything:
IF motion_detected(kitchen_sensor) == TRUE
AND time_of_day >= sunset - 30min
AND time_of_day <= 23:00
THEN light_on(kitchen_overhead, brightness=80%, color_temp=3000K)
WAIT 10 minutes
IF motion_detected(kitchen_sensor) == FALSE
THEN light_off(kitchen_overhead, transition=2s)
This exposes logic flaws early. In my first layout, I had overlapping motion zones that created strobe-light effects when sensors disagreed about occupancy. Mapping it on paper showed the problem before I mounted hardware.
Document your latency tolerance for each zone. Lights respond in under 200ms or users think they're broken. Climate control can take 5-10 seconds. Security sensors must report state changes within 500ms or you miss events.
Step 4: Design Your Network Topology and Assign Device Addresses
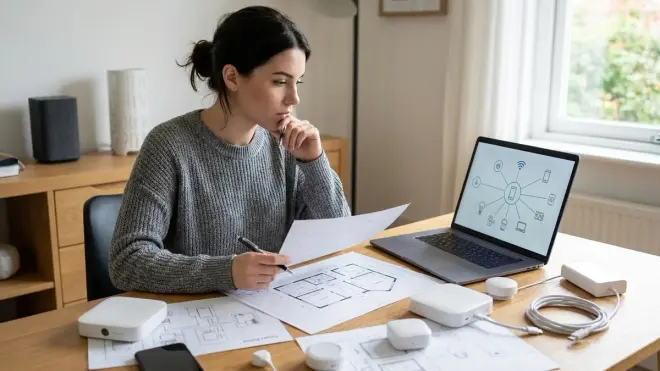
Smart home layouts fail when networks can't handle the traffic. I segregate automation devices on a dedicated VLAN with no internet access, separate from my main network. This isn't paranoia—it's basic network hygiene.
Use static IP assignments for all hubs, coordinators, and bridges. My Home Assistant server is always 192.168.2.10, my Zigbee coordinator is 192.168.2.11, Z-Wave is .12. When devices reboot, they reconnect instantly without DHCP delays that can add 2-5 seconds to automation recovery.
Map your protocol-to-hub relationships explicitly:
- Zigbee devices → Zigbee coordinator → Home Assistant
- Z-Wave devices → Z-Wave USB stick → Home Assistant
- Thread devices → Thread Border Router → Home Assistant (via Matter)
- Local Wi-Fi devices (flashed with ESPHome) → Home Assistant MQTT broker
I maintain a spreadsheet with every device's MAC address, protocol, firmware version, and physical location. When something misbehaves, I know exactly where it is and what version it's running.
Your router needs multicast support enabled for Matter/Thread discovery. Many consumer routers disable mDNS between VLANs by default, which breaks device pairing. I run OPNsense on a dedicated firewall appliance because I can control every packet.
Calculate your bandwidth requirements. Zigbee and Z-Wave use minimal bandwidth (a few kbps per device), but Wi-Fi cameras and voice assistants can saturate 2.4 GHz networks. I've seen 1080p security cameras drop frames when competing with 40+ Wi-Fi smart bulbs on the same channel.
Step 5: Plan Power Redundancy and Failover Behavior
Your automation layout collapses during power outages if you don't plan for it. I dimension my backup power based on protocol priority.
Tier 1: Critical infrastructure (hub, router, modem, coordinator sticks) gets UPS backup with 4+ hours runtime. My Zigbee and Z-Wave coordinators draw under 2W each; my Home Assistant NUC pulls 15W idle. A 600VA UPS handles this for 6+ hours.
Tier 2: Security devices (contact sensors, motion sensors, sirens) run on batteries with 6-12 month lifespans. Zigbee sensors using CR2032 batteries report low-battery warnings 2-4 weeks before death if you configure the alert threshold correctly.
Tier 3: Convenience automation (lights, climate) gets no backup power. When grid power fails, these devices go offline until restoration. I accept this trade-off rather than sizing a UPS for 60+ bulbs.
Define your fallback behaviors explicitly:
- IF hub_offline == TRUE, Zigbee/Z-Wave devices retain last state (lights stay on/off, locks remain locked)
- IF internet_offline == TRUE, local automations continue unaffected (because I don't route anything through the cloud)
- IF power_outage == TRUE, door sensors still trigger Z-Wave siren (runs on backup battery, programmed with direct association to sensor)
I test this quarterly by pulling the main breaker. Every time, I discover something I forgot—like the garage door opener that needs 5 minutes to reconnect to the Zigbee mesh after power restoration.
For comprehensive power planning, see our guide on how to configure smart home fallback automations during power outages.
Step 6: Document Device Compatibility and Ecosystem Lock-In Risks
Before you buy anything, verify compatibility at the firmware level, not just the marketing spec sheet. I maintain a compatibility matrix that tracks which devices work with which hubs running which software versions.
Example from my testing:
| Device | Protocol | Requires Hub | Cloud Dependency | Local Fallback |
|---|---|---|---|---|
| Philips Hue Bulb | Zigbee 3.0 | Yes (Hue Bridge or generic coordinator) | No | Retains last state |
| TP-Link Kasa Switch | Wi-Fi | No | Yes (TP-Link cloud) | None—becomes dumb switch |
| Aqara Door Sensor | Zigbee 3.0 | Yes (Zigbee coordinator) | No | Retains last state |
Ecosystem lock-in is the silent killer of smart home layouts. Proprietary hubs like Philips Hue Bridge technically support Zigbee but use custom clusters that prevent other manufacturers' devices from joining. I've spent hours diagnosing why an Ikea bulb wouldn't pair with a Hue Bridge—turned out Philips whitelists compatible devices by manufacturer code.
Use generic Zigbee coordinators (ConBee II, Sonoff ZBDongle, Home Assistant SkyConnect) instead of brand-specific bridges whenever possible. They support standard Zigbee 3.0 without artificial restrictions.
For Z-Wave, verify Z-Wave version (500-series vs 700-series) and region frequency (US uses 908 MHz, EU uses 868 MHz). Devices from the wrong region won't mesh properly even if they pair.
Thread/Matter compatibility is a minefield in 2026. Many "Matter-compatible" devices only support basic on/off commands via Matter while keeping advanced features (color tuning, scheduling) locked behind proprietary apps. I've tested Matter bulbs that worked fine with Home Assistant for simple commands but required the manufacturer's app—and cloud account—for firmware updates.
Check our detailed breakdown in understanding smart home protocols and compatibility for protocol-specific interoperability issues.
Step 7: Create Your Phased Deployment Plan
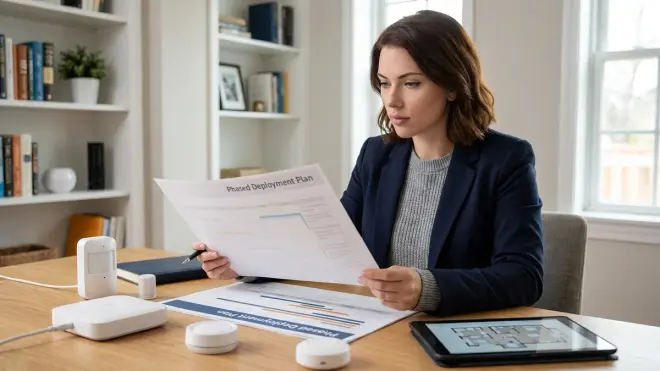
Don't deploy your entire layout at once. I break implementations into phases that let me test automation logic before committing to full coverage.
Phase 1: Core infrastructure (hub, coordinator, network). Get Home Assistant running, configure VLANs, test connectivity. Deploy no more than 5 devices for initial automation testing. This is where you'll discover configuration mistakes, firmware bugs, and network issues. I spent two weeks in Phase 1 debugging why my Zigbee network kept dropping devices—turned out my USB 3.0 port was generating RF interference that required a 3-foot USB extension cable to resolve.
Phase 2: Single-zone deployment (one room or automation category). I started with bedroom lighting: 4 Zigbee bulbs, 1 motion sensor, 1 light switch. Wrote automation logic, tested edge cases (what happens when motion triggers during manual switch override?), measured latency. Discovered my motion sensor's 30-second cooldown was too long—people would walk in, lights would turn on, they'd leave within 20 seconds, sensor wouldn't detect the exit, lights stayed on for 10 minutes. Adjusted to a 10-second cooldown.
Phase 3: Expansion (add adjacent zones, copy working automation templates). Once bedroom lighting worked flawlessly for 2 weeks, I replicated the logic to living room, kitchen, bathrooms. Each room needed minor tweaks—kitchen needed longer timeout (20 minutes) because people stand still while cooking.
Phase 4: Integration (cross-zone automations, complex conditional logic). This is where you chain multiple sensors and devices. My "goodnight" automation checks if all doors are locked (contact sensors), turns off all lights except bathroom night light, sets thermostat to 68°F, and arms security sensors. It took 6 iterations to handle edge cases like "what if someone's still in the shower when someone else triggers goodnight mode?"
Phase 5: Maintenance (firmware updates, device replacement, logging analysis). I review Home Assistant logs monthly for failed commands, offline devices, and unexpected behavior. Zigbee devices occasionally need re-pairing after firmware updates; Z-Wave devices sometimes lose routing tables after power outages.
Each phase should run 2-4 weeks before moving to the next. Rushing leads to debugging 40 devices simultaneously, which is miserable.
Pro Tips & Common Mistakes
Use powered Zigbee devices as routers strategically. Every always-on device (smart plug, bulb, in-wall switch) extends your mesh. Place them between your hub and battery-powered sensors to create reliable paths. I have a Zigbee smart plug in my hallway that does nothing except route traffic for 6 bedroom sensors.
Avoid mixing battery and powered devices on the same group in your automation logic. Battery devices sleep and wake on intervals; powered devices respond instantly. I've seen automations fail because a battery sensor reported state change 2 seconds after a powered switch, causing race conditions in conditional triggers.
Document your Zigbee channel selection. Zigbee channels 15, 20, and 25 overlap least with Wi-Fi channels 1, 6, and 11. I use a Wi-Fi analyzer app to find the quietest spectrum before configuring my coordinator. Changing channels later requires re-pairing every device.
The biggest mistake: assuming cloud-connected devices will work offline. I've tested dozens of "local control" devices that stop responding the instant I block their cloud endpoints. The Wyze Cam v3, for example, advertises RTSP local streaming but requires cloud authentication to enable it initially. Once you've authenticated, it works offline—until the next firmware update silently disables it again.
Test failover scenarios intentionally. Unplug your hub. Block internet access. Simulate power outages. I found 3 "critical" automations that silently failed when my internet died because I'd accidentally used a cloud-based weather integration as a conditional trigger.
Don't overbuild mesh density. More devices isn't always better—I've seen Zigbee networks degrade when users added 80+ bulbs that created routing loops and congestion. Aim for 30-50 devices per coordinator; start a second Zigbee network if you need more.
Keep firmware versions documented. Manufacturers push updates that break local control without warning. I maintain a blocklist of firmware versions that disabled features I depend on. The Aqara Hub firmware 3.3.6 broke local sensor access; I rolled back to 3.3.4 and disabled auto-updates.
Frequently Asked Questions
Can I mix Zigbee and Z-Wave devices on the same hub? Yes, but they require separate coordinator radios—one Zigbee USB stick, one Z-Wave USB stick, both plugged into your hub. Home Assistant supports both simultaneously. They operate on different frequencies (2.4 GHz vs 908 MHz) so there's no cross-protocol interference, but you can't mesh them together—each protocol creates its own independent network. I run both because Zigbee has better sensor variety while Z-Wave offers superior range for outdoor devices.
How many devices can I run on a single Zigbee network before performance degrades? Most Zigbee 3.0 coordinators support 50-100+ direct connections, but practical limits depend on mesh quality and traffic volume. I've run 60 devices on a ConBee II without issues, but I've also seen 30-device networks collapse from poor router placement. The limiting factor is usually routing table capacity in individual devices—cheap Zigbee bulbs often support only 10-15 child devices, while dedicated routers handle 30+. Plan for one always-powered router per 3-4 battery sensors.
Do I need internet access for local-only smart home automation to work? No. Zigbee, Z-Wave, and Thread/Matter devices communicate directly with your hub over local wireless protocols. I've run my entire setup offline for weeks during ISP outages with zero functionality loss—lights, sensors, locks, everything works because the automation logic runs on Home Assistant locally. The only things that break are cloud-dependent features like weather forecasts, voice assistants (unless you run a local voice engine like Rhasspy), and remote access. Your hub needs power and network connectivity to your devices, but not internet.
What happens to my automations if my Home Assistant hub crashes or loses power? Zigbee and Z-Wave devices retain their last state when the hub goes offline—lights stay on or off, locks remain locked or unlocked. Scheduled automations and motion-triggered lights stop working until the hub restarts because the automation logic lives on the hub, not the devices themselves. This is why I implement critical security automations with direct Z-Wave associations—a door sensor directly paired to a siren can trigger without hub involvement. Battery-powered devices continue sensing and store events in a small buffer, but without an active hub, those events don't trigger actions. My UPS keeps the hub alive for 4+ hours during outages; if it runs longer, only time-based automations fail while device states remain intact.
Summary
How to plan smart home automation layout comes down to protocol selection, physical mapping, and automation logic design—all before you buy a single device. Start with a floor plan audit, choose protocols that support offline operation (Zigbee and Z-Wave are your best bets in 2026), and design your network topology with VLANs and static IPs. Map your automation zones by complexity, not just room names, and write your logic as testable pseudocode. Plan for power failures with UPS backup for critical infrastructure and document every device's compatibility and firmware version.
Deploy in phases—core infrastructure first, single-zone testing second, expansion third. Test failover scenarios intentionally because manufacturers lie about offline functionality constantly. I've rebuilt my entire layout twice after discovering "local control" devices that secretly depended on cloud authentication.
Your layout determines whether you have a resilient, privacy-respecting automation system or an expensive collection of internet-dependent light switches that stop working when AWS has an outage.