
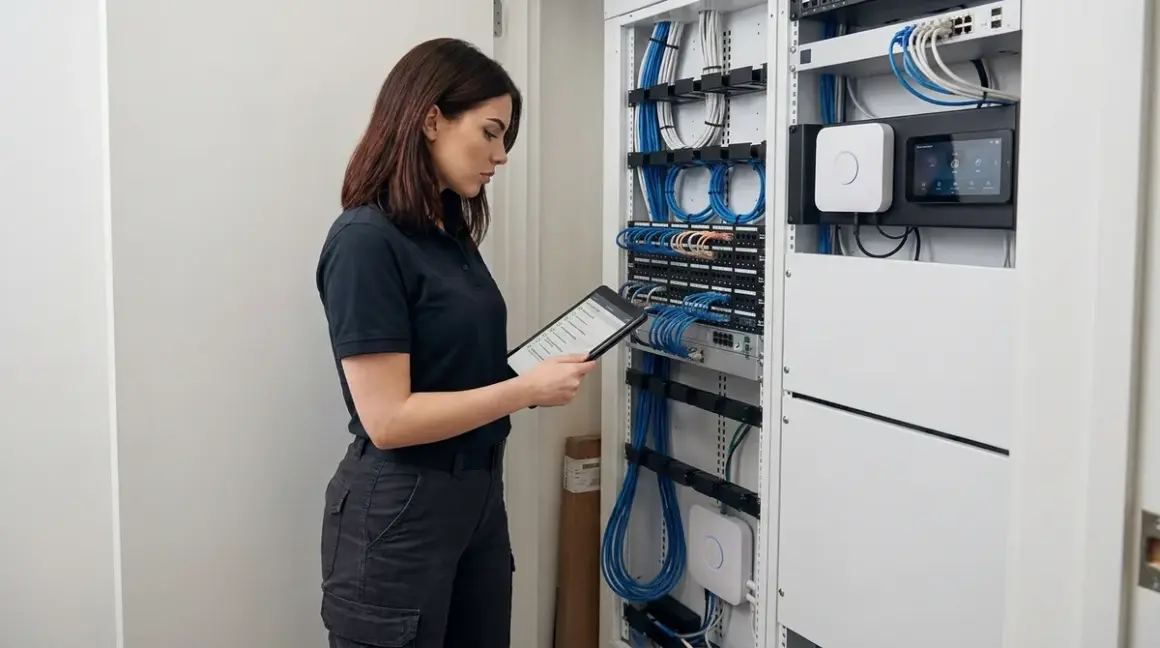

Before you buy a single smart switch or motion sensor, you need to understand the infrastructure that makes local-only automation possible. This home automation network requirements checklist covers the physical wiring, network architecture, power backup, and protocol-specific requirements you'll need to run a privacy-first smart home—one that doesn't phone home every time you turn on a light.
I learned this the hard way. My first automation setup failed spectral-style because I assumed my existing network could handle 50+ Zigbee devices. It couldn't. The mesh collapsed during simple automations, devices dropped offline randomly, and I had no fallback when the power went out. This checklist is what I wish I'd followed before spending hundreds on incompatible hardware.
Network Infrastructure Requirements
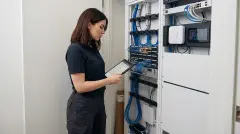
Your network is the foundation. Get this wrong, and even the best local-only devices will behave like cloud-dependent garbage.
Dedicated 2.4GHz SSID for Wi-Fi devices: Most locally-controlled Wi-Fi devices (like ESP32-based sensors running ESPHome) only support 2.4GHz. If your router auto-selects bands or uses a unified SSID, devices will fail to connect or drop randomly. Set up a separate 2.4GHz network with a static SSID name—not the same name as your 5GHz band.
VLAN segmentation for IoT devices: Even local-only devices shouldn't share a network with your laptop or phone. Create a dedicated VLAN for smart home gear with firewall rules that block outbound internet access (except for specific services you explicitly allow, like NTP time sync). This prevents rogue firmware updates and limits attack surface if a device gets compromised.
Gigabit Ethernet for your hub: Whether you're running Home Assistant on a Raspberry Pi or a dedicated server, use wired Ethernet, not Wi-Fi. Hubs handle hundreds of protocol messages per minute—Zigbee join requests, Z-Wave status updates, Matter controller handshakes. Wi-Fi introduces latency spikes (10-50ms) that cascade into delayed automations. Wired connections keep latency under 2ms.
Static IP assignments for hubs and bridges: Your router should assign the same IP address to your Home Assistant server, Zigbee coordinator, and any protocol bridges (like a Philips Hue Bridge running locally) every time they reboot. Use DHCP reservations based on MAC address, not manual static IPs that conflict during router firmware updates. This prevents automations from breaking when devices reconnect.
Separate network switch for high-bandwidth cameras: If you're running local storage security cameras (think Reolink RLC-810A or UniFi Protect), they'll saturate your main network switch with constant RTSP streams. Use a dedicated gigabit switch connected directly to your NVR or storage server. For more on avoiding subscription traps, see how to set up a security alarm with no monthly fee.
Quality of Service (QoS) rules for protocol traffic: Configure your router to prioritize UDP traffic on Zigbee/Z-Wave ports (varies by coordinator) and Matter/Thread UDP multicast. This prevents video streaming or torrent downloads from drowning out time-sensitive automation commands. Most routers let you prioritize by device MAC or port number—set your hub to highest priority.
Ethernet backhaul for mesh Wi-Fi systems: If you use mesh Wi-Fi (Google Nest Wi-Fi, eero, UniFi), connect each access point via Ethernet cable, not wireless backhaul. Wireless mesh adds 15-40ms latency per hop and introduces packet loss during band steering. Locally-controlled devices can't tolerate that jitter.
Network monitoring for packet inspection: Install Wireshark or tcpdump on a device connected to your IoT VLAN's mirror port. Run periodic captures to verify devices aren't sending unauthorized traffic. I caught a "local-only" smart plug sending DNS queries for amazonaws.com—turns out the manufacturer pushed a silent firmware update that re-enabled cloud features.
For a broader overview of network planning, check out our guide on how to plan your smart home automation system.
Electrical Wiring and Power Requirements
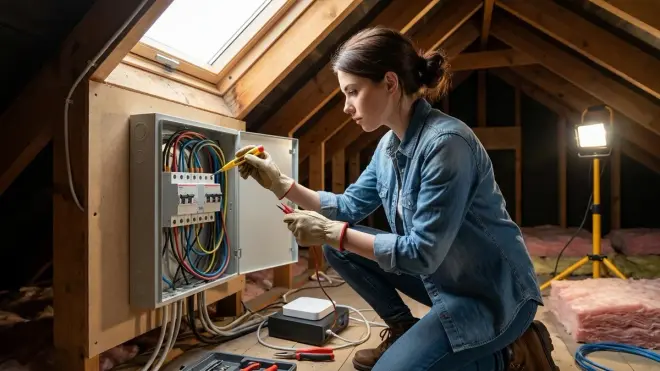
Your smart devices live or die by clean, reliable power. Protocol radios are sensitive to voltage sag and noise.
Neutral wire availability for smart switches: Most in-wall smart switches—Zigbee, Z-Wave, or Matter—require a neutral wire to power their radio and microcontroller. Older homes (pre-1980s in the US) often lack neutrals in switch boxes. Before buying switches, pop off a wall plate and check: you should see a bundle of white wires wire-nutted together. No neutral? You'll need Lutron Caseta (uses a proprietary protocol but works locally via their bridge) or expensive rewiring. See in-wall smart switches vs surface mount for alternatives.
Dedicated 15A circuit for hub and network gear: Don't plug your Home Assistant server, router, switch, and protocol coordinators into the same power strip as your microwave. Inductive loads cause voltage spikes that corrupt Zigbee flash memory and crash Z-Wave controllers. Run a dedicated 15A circuit from your breaker panel, or at minimum use a different outlet on a separate breaker.
UPS battery backup for critical devices: Your hub, router, and main mesh repeaters should run on uninterruptible power supplies (UPS). When grid power fails, Zigbee/Z-Wave mesh networks take 30-90 seconds to rebuild routing tables—if the hub loses power during that window, automations fail completely. For sizing guidance, see how to calculate battery runtime for Zigbee hubs, Wi-Fi routers, and Z-Wave controllers.
Surge protection with low clamping voltage: Standard surge protectors clamp at 400-600V, which still allows damaging transients through to sensitive radio hardware. Use commercial-grade suppressors with 330V or lower clamping (like Tripp Lite Isobar series). I've had two Zigbee coordinators bricked by nearby lightning strikes—both were on consumer-grade power strips.
Load capacity for smart outlets and plugs: Zigbee and Z-Wave smart plugs typically max out at 10-15A resistive load. Don't plug space heaters, window AC units, or power tools into them—the inrush current when motors start can weld relay contacts closed. Use heavy-duty Wi-Fi smart plugs (like Shelly Plus Plug US running local-only firmware) or hardwired relays for high-load devices.
Separate circuits for high-wattage automation: If you're automating electric water heaters, HVAC, or EV chargers, do not control them through standard smart switches. Use contactor relays on dedicated 240V circuits with appropriately-rated Z-Wave/Zigbee dry-contact modules. Undersized wiring is a fire hazard, and improperly-rated automation gear will fail mid-cycle.
Grounding verification for metal junction boxes: Smart switches installed in metal boxes without proper grounding can radiate RF interference that jams Zigbee channels. Use a multimeter to verify continuity between the box and ground wire. If the box isn't grounded, install a ground wire or use a plastic box retrofit.
For whole-home backup planning, see battery backup vs generator for smart homes.
Protocol-Specific Infrastructure
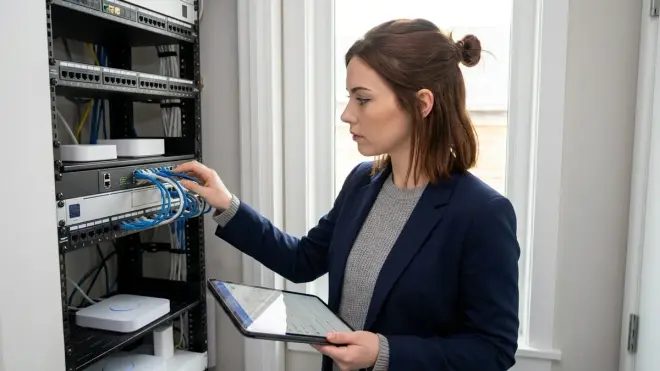
Each wireless protocol has different infrastructure needs. Mixing them without planning causes interference and reliability nightmares.
Zigbee Requirements
Coordinator placement away from Wi-Fi routers: Zigbee operates on 2.4GHz, overlapping Wi-Fi channels 11-14 (in the US). Place your Zigbee coordinator at least 3 feet from your router or access points. I run Zigbee channel 25, which minimizes overlap with my Wi-Fi on channel 1.
USB extension cable for coordinators: Don't plug your Sonoff Zigbee 3.0 USB Dongle Plus directly into your server's USB port—the metal case and nearby electronics create RF dead zones. Use a 3-6 foot USB extension cable to position the coordinator in open air. This single change doubled my mesh range.
Powered mesh repeaters every 30 feet: Battery-powered Zigbee sensors don't repeat signals. You need mains-powered devices—smart plugs, light bulbs, or dedicated repeaters—spaced evenly throughout your home. Zigbee's max hop count is ~30, but every hop adds 20-40ms latency. Plan for no more than 3 hops between end devices and your coordinator.
Channel scan before deployment: Use Zigbee2MQTT's built-in scanner or a spectrum analyzer app to identify the least-congested channel in your area. Apartment buildings often have 10+ Zigbee networks on channel 11 (the default). Switching to channel 20 or 25 can eliminate 90% of interference-related dropouts.
Z-Wave Requirements
700 or 800 series controller for long-range support: Older 500-series Z-Wave controllers (common in 2020-2022 hubs) max out at 40-foot range indoors. 700-series doubles that, and 800-series adds interference mitigation. If you're building new, skip 500-series entirely.
Beaming support for battery-powered devices: Battery sensors (motion, door/window contact) sleep most of the time to conserve power. When they wake to send an alert, they need nearby "beaming" repeaters to buffer the message until the controller is ready. Not all Z-Wave devices support beaming—check before buying.
Security S2 pairing for all new devices: S2 encryption prevents replay attacks and eavesdropping. Older Security S0 or non-secure devices are vulnerable. When pairing, always choose the highest security level your device supports. Note that S2 adds 10-20ms latency per message—acceptable for most automations, but problematic for low-latency triggers.
Thread and Matter Requirements
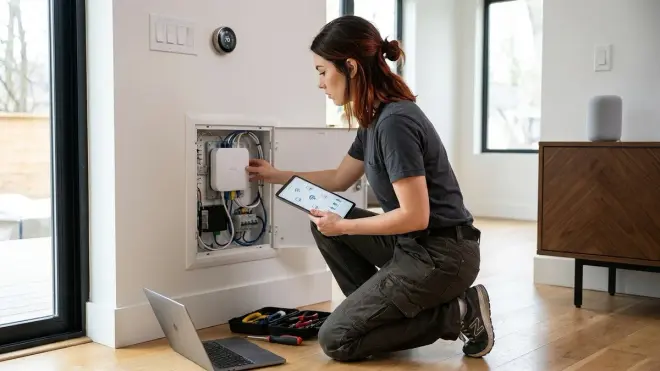
Border router with sufficient capacity: Thread networks require at least one border router to bridge Thread devices to your IP network and enable Matter controller communication. Apple HomePod mini, Google Nest Hub (2nd gen), and dedicated Thread border routers like the GL.iNet GL-S200 each support 50-100 Thread devices. If you're running more, you'll need multiple border routers.
IPv6 support on your network: Thread uses IPv6 exclusively. If your router or firewall blocks IPv6 or doesn't assign Unique Local Addresses (ULAs), Matter devices won't commission. Enable IPv6, assign a ULA prefix (fd00::/8), and verify Thread devices receive addresses in that range.
Firmware-updated controllers for Matter 1.4: Matter 1.4 (released mid-2025) added critical energy management and batch command features. Older controllers running Matter 1.0-1.2 will pair with 1.4 devices but can't access new features. Update Home Assistant, Apple Home, or Google Home to the latest version before commissioning Matter devices. For migration guidance, see how to migrate your smart home to Matter 1.4 without breaking automations.
For protocol comparisons, see Zigbee vs Z-Wave vs Thread.
Hub and Controller Requirements
Your hub orchestrates everything. Under-spec it, and automations lag or fail silently.
Minimum 4GB RAM for Home Assistant: If you're running Home Assistant on a Raspberry Pi or mini PC, 4GB RAM is the bare minimum for 50+ devices with local voice control (Whisper/Piper). 8GB is better if you're running add-ons like Node-RED, Zigbee2MQTT, and Frigate NVR simultaneously. I upgraded from 4GB to 8GB and saw automation execution latency drop from 300ms to under 100ms.
SSD or NVMe storage, not SD cards: SD cards fail—usually without warning—after 6-12 months of constant database writes. Use a USB SSD (for Pi) or NVMe drive (for mini PCs) for your Home Assistant installation. Enable database purging to keep writes under 100MB/day and extend drive life.
Wired Ethernet for coordinators and bridges: We covered this in the network section, but it's critical: Zigbee coordinators, Z-Wave controllers, and Matter border routers should connect via USB to a server on wired Ethernet, not Wi-Fi. Wireless adds jitter that causes missed messages and automation delays.
Separate controller for each protocol: Don't try to run Zigbee, Z-Wave, and Thread on a single USB controller chip—they'll interfere with each other. Use dedicated coordinators: one for Zigbee (like Sonoff or ConBee II), one for Z-Wave (Aeotec Z-Stick 7), and Thread via a border router. For hub selection, see understanding smart home hubs.
Controller placement for optimal mesh coverage: Your Zigbee/Z-Wave coordinator should be centrally located in your home, ideally on the ground floor if you have multiple stories. Vertical signal propagation is weaker than horizontal—place the coordinator where it has line-of-sight to the most devices.
Backup configuration files weekly: Home Assistant stores automation logic, device configs, and scenes in YAML files. Set up automated backups to a NAS or external drive using the built-in snapshot feature. I lost two weeks of automation work when my Pi's SD card corrupted—now I backup nightly.
Local voice processing hardware for privacy: If you want voice control without sending audio to Amazon or Google, you need hardware that can run local speech-to-text. A Raspberry Pi 4 (4GB) can handle basic Whisper models, but for low-latency (<1 second) responses, use a mini PC with a dedicated NPU or Google Coral USB accelerator. For voice assistant comparisons, see best voice assistant for smart home automation.
Data Storage and Logging Requirements
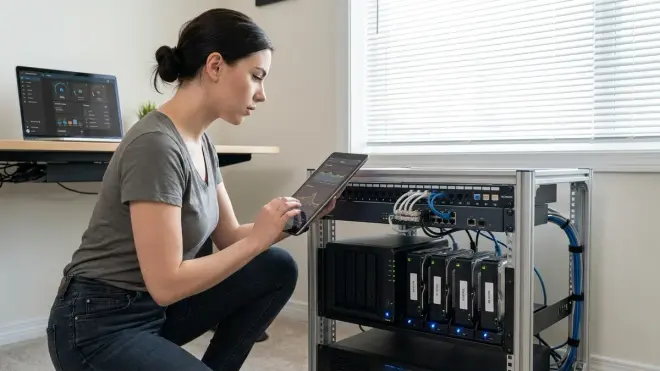
Local-only automation generates gigabytes of logs and state history. Plan storage to avoid filling disks mid-automation.
Database size management: Home Assistant's default SQLite database grows indefinitely. Set
purge_keep_days: 7in yourrecorder:config to auto-delete state history older than a week. For long-term trends (energy usage, temperature), export to InfluxDB or Prometheus—both store data more efficiently than SQLite.Separate partition for time-series data: If you're logging sensor data every 10 seconds (motion, temperature, power monitoring), store it on a separate partition or drive from your main OS. When that partition fills, it won't crash your hub. I allocate 100GB for time-series data on a dedicated SSD.
Local video storage for security cameras: Cloud storage is a privacy disaster. Use a dedicated NVR (like Synology Surveillance Station) or Home Assistant's Frigate add-on with local drives. Plan ~150GB per camera per week for 24/7 1080p recording, or 60GB/week for motion-only. For setup, see best subscription-free security cameras.
Offsite backup for critical automations: Your home automation config is infrastructure—treat it like production systems. Set up encrypted rsync or rclone backups to a remote server (a friend's NAS, a cheap VPS) so you can rebuild after a catastrophic failure. I sync my Home Assistant config to a $5/month VPS nightly.
Log rotation for protocol debug logs: Zigbee2MQTT, Z-Wave JS, and Matter controllers write verbose debug logs that consume 10-50MB/day. Enable log rotation (logrotate on Linux) to compress old logs and delete entries older than 30 days. Without rotation, I've seen debug logs fill 500GB drives in under a year.
Automation Fallback and Redundancy
When the network fails, your automations shouldn't. Plan for graceful degradation.
Battery backup for core devices: At minimum, your hub, router, switch, and one mesh repeater per protocol should survive a 30-minute power outage. This keeps the control plane alive so automations can still execute even if lights and sensors lose power. See smart home power outage preparation checklist.
Local failover rules for critical automations: Define fallback behavior for safety-critical automations. Example: if your presence detection fails (phone battery dies, router crashes), what's the default state? I configure motion-triggered lights to stay on at 20% brightness if the hub loses connectivity—better than pitch-black hallways.
Offline-capable devices for essential functions: Not all smart devices work when the hub crashes. Zigbee bulbs paired directly to a Hue Bridge can be controlled via the Bridge's hardware button even if Home Assistant is down. Z-Wave switches often support manual override. Thread devices paired to multiple border routers stay functional if one fails.
Manual override switches for smart lighting: Install physical smart switches, not just smart bulbs in dumb fixtures. When the hub is down, you can still toggle lights at the wall. Automating only bulbs leaves you fumbling with apps during outages.
Network watchdog scripts: Set up a cron job or Node-RED flow that pings your hub every 60 seconds. If it fails 3 consecutive pings, trigger a relay to power-cycle the router or hub. I use a Shelly 1 relay to auto-reboot my router if it stops responding—saves me from climbing into the attic at 2 AM.
For mesh network recovery behavior, see why smart home devices lose connection during power failures.
Security and Privacy Infrastructure
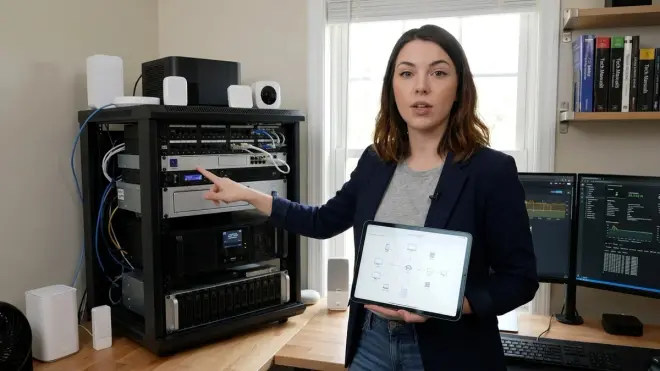
Local-only automation isn't secure by default. You need to actively block exfiltration and unauthorized access.
Firewall rules blocking outbound traffic: Configure your router or firewall to deny all outbound traffic from your IoT VLAN by default, then whitelist only essential services (NTP for time sync, local DNS). Use iptables or your router's GUI to log blocked connections—if a device tries to phone home, you'll see it.
DNS sinkhole for known telemetry domains: Run Pi-hole or AdGuard Home and add blocklists for known IoT telemetry domains (analytics.google.com, cloudfront.net subdomains tied to AWS IoT, etc.). Even "local-only" devices sometimes leak usage stats during initial setup.
Certificate pinning for Home Assistant remote access: If you expose Home Assistant remotely via Nabu Casa or a reverse proxy, use TLS certificate pinning and fail2ban to block brute-force login attempts. Better: don't expose it at all—use WireGuard VPN to access your local network when away.
Firmware version freezing for tested devices: Once a device works reliably with local-only firmware, disable auto-updates. Manufacturers push silent updates that re-enable cloud features, change API behavior, or break local control. I manually review firmware changelogs before updating—trust but verify.
Separate guest network with zero IoT access: Visitors' phones and laptops should never touch your IoT VLAN. Create a guest Wi-Fi network with client isolation enabled and firewall rules blocking access to RFC1918 private addresses (192.168.x.x, 10.x.x.x). This prevents compromised guest devices from attacking your smart home.
Physical security for hub hardware: Your Home Assistant server or hub is a single point of failure. Lock it in a closet or cabinet—if someone gains physical access, they can dump your database, steal API keys, or flash malicious firmware. I mount mine in a locked network rack.
For protocol-specific security, see smart home protocols explained.
Testing and Verification Checklist
Before you declare your home automation network requirements checklist complete, test everything under failure conditions.
Latency testing under load: Use
pingandiperf3to measure network latency while streaming 4K video and running automations simultaneously. If ping times exceed 50ms or packet loss hits 1%, your network can't handle the load—upgrade your switch or add QoS rules.Automation execution time measurement: Time how long automations take from trigger to action. A motion sensor triggering a light should complete in under 300ms (trigger → hub receives → hub sends command → light acknowledges). Delays beyond 500ms feel laggy. I use Home Assistant's built-in automation trace to identify bottlenecks.
Power outage simulation: Flip the breaker feeding your office or router. Does the hub stay online? Do mesh networks rebuild within 90 seconds? Do lights fail-safe to a usable state? I test this quarterly and tweak UPS capacity or add battery-powered repeaters as needed.
Protocol interference testing: Use a Wi-Fi analyzer app (like WiFi Analyzer on Android) to visualize 2.4GHz spectrum. Enable all your Zigbee devices and stream video simultaneously—if you see packet retries spike or devices drop offline, you've got interference. Switch Zigbee channels or move coordinators.
Failover testing for critical automations: Unplug your hub and verify failback behavior works. Do lights default to a safe state? Can you manually override switches? Do battery-powered sensors buffer events until the hub returns? Document what breaks—those are your weak points.
For device-level testing, see how to test smart device response times and latency across protocols.
Final Check Before You Go
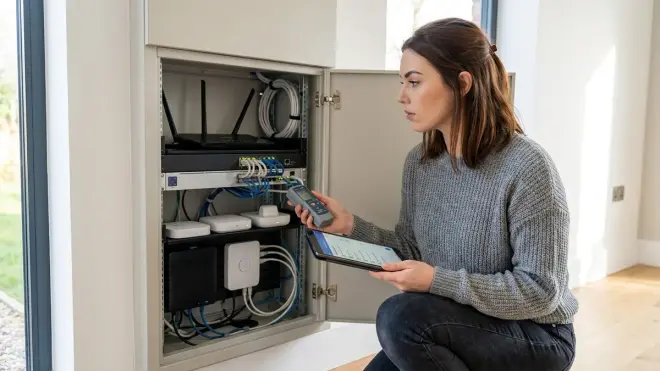
Run through this condensed home automation network requirements checklist before buying devices:
- Dedicated 2.4GHz SSID configured with no band steering
- IoT VLAN created with outbound internet blocked by default
- Hub on wired gigabit Ethernet with static IP reservation
- UPS backup for hub, router, and main mesh repeaters (30+ minute runtime)
- Neutral wires verified in all switch locations you plan to automate
- Dedicated 15A circuit for hub and network gear
- Zigbee coordinator on USB extension cable, 3+ feet from router
- Z-Wave controller is 700 or 800 series
- Thread border router supports 50+ devices and IPv6 is enabled
- Hub has 4GB+ RAM and SSD/NVMe storage (no SD cards)
- Separate coordinator/controller for each protocol
- Database purge enabled (7-day retention for state history)
- Local video storage sized for 1 week per camera
- Firewall rules block all outbound IoT traffic except whitelisted services
- Firmware auto-update disabled on all devices
- Manual override switches installed for critical lighting
- Automation latency tested under network load (<500ms end-to-end)
- Power outage simulation completed successfully
If you can't check every box, you're not ready to buy devices yet. Fix the infrastructure first.
Frequently Asked Questions
Do I need a separate network for smart home devices even if I'm running everything locally?
Yes—even local-only devices can have vulnerabilities or get compromised via physical access, malicious firmware, or supply chain attacks. A dedicated VLAN with firewall rules prevents a compromised smart bulb from accessing your laptop or exfiltrating data to the internet. It's network segmentation 101: trust nothing, isolate everything. I run three VLANs: trusted devices (laptops, phones), IoT (all smart home gear), and guest (visitors). The firewall blocks traffic between VLANs except for specific services I explicitly allow, like Home Assistant's web interface accessible from my trusted network.
Can I use Wi-Fi for my Home Assistant hub instead of Ethernet?
You can, but you shouldn't. Wi-Fi introduces 10-50ms latency spikes during channel switching, interference, or when the access point is under load. When your hub is processing 20+ automation triggers per minute (motion sensors, door contacts, power monitoring), those spikes cascade into missed events and delayed responses. I tested this: the same automation took 180ms over wired Ethernet and 400-900ms over Wi-Fi 5 (802.11ac). For reliability and consistent performance, wire your hub. If running Ethernet is impossible, use powerline adapters or MoCA (Ethernet over coax)—both beat Wi-Fi for latency and stability.
How much UPS battery capacity do I need for my smart home hub and network gear?
Calculate total wattage of your hub, router, switch, and all protocol coordinators, then multiply by 1.5 for headroom. A Raspberry Pi 4 draws ~8W, a typical router 10-15W, a gigabit switch 5-10W, and USB coordinators 1-2W each—total around 30-40W. A 600VA/360W UPS (like the APC Back-UPS BE600M1) provides 30-60 minutes runtime at that load. For longer outages, consider a 1000VA+ UPS or integrate with a whole-home battery system like the Tesla Powerwall. For detailed runtime calculations, see how to calculate battery runtime for Zigbee hubs.
Final Thoughts
Building local-only automation isn't just about buying the right devices—it's about creating infrastructure that keeps working when the internet goes down, the cloud shuts off, or a manufacturer decides your three-year-old hub is "obsolete." The home automation network requirements checklist I've outlined here is what keeps my 80+ device setup running without sending a single packet to Amazon, Google, or any other surveillance capitalism outfit.
I've rebuilt this system twice—once after an SD card failure wiped everything, once after realizing my "local" devices were phoning home anyway. Every item on this checklist exists because I screwed it up first. Learn from my mistakes: plan the infrastructure before you buy the gadgets, test under failure conditions, and never trust a manufacturer's "works offline" claim without packet captures to prove it.
Your home should work for you, not for the ad networks. Build it right.
Cloud-Free Viability Score: N/A (Infrastructure guide, not a product review)