
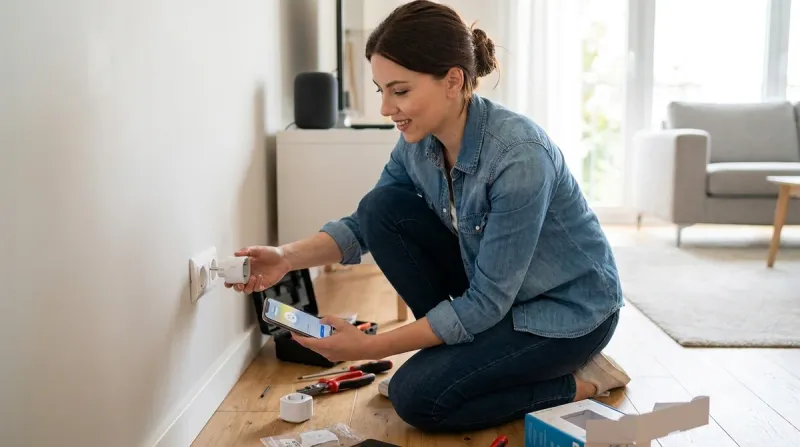

Installing your first smart home devices doesn't have to mean surrendering your privacy to cloud servers. Whether you're adding a smart bulb, motion sensor, or smart plug, knowing how to install first smart home devices the right way—with an eye toward local control and protocol compatibility—can save you from ecosystem lock-in and unwanted data harvesting.
In this guide, you'll learn the exact steps to install common smart home devices while maintaining control over your data. I'll walk you through protocol selection, hub requirements, network setup, and automation logic—plus the privacy pitfalls most beginner guides conveniently ignore. Expect to spend 2-4 hours for your first installation, depending on whether you choose cloud-dependent or local-only hardware. Skill level: Beginner-friendly, but we won't dumb down the technical details that actually matter.
What You'll Need
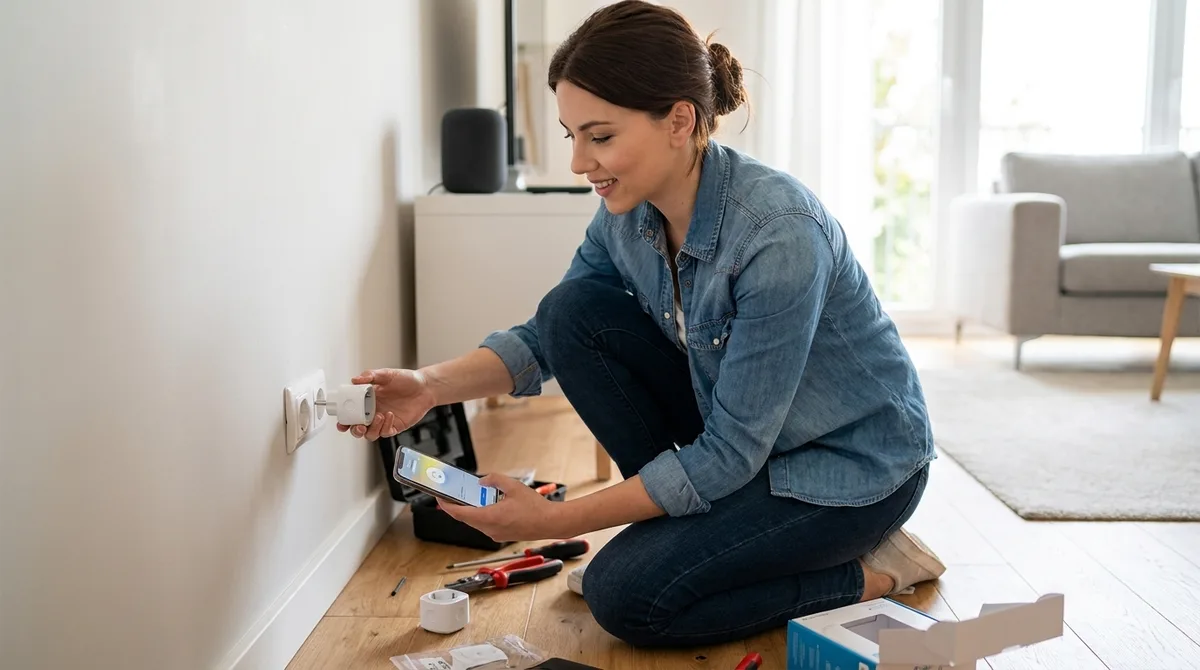
Before you touch a single device, gather these essentials:
- A compatible hub or controller (Zigbee coordinator like Home Assistant Yellow, Z-Wave stick, or Matter-compatible Thread border router—avoid relying solely on cloud hubs like Amazon Echo or Google Nest)
- Smart devices matching your chosen protocol (Zigbee, Z-Wave, Thread, Matter, or Wi-Fi—mixing protocols without a hub causes compatibility hell)
- Reliable Wi-Fi network with 2.4 GHz support (most smart devices won't connect to 5 GHz-only networks; latency expectations: 200-500ms for Wi-Fi devices, 50-150ms for Zigbee/Z-Wave)
- Ethernet cable (to hardwire your hub for stability—wireless hubs lose connection during router restarts)
- Smartphone or computer (for initial pairing and configuration)
- Network isolation plan (optional but recommended: separate VLAN or guest network to quarantine cloud-dependent devices from your main network)
- UPS (uninterruptible power supply) if you want automations to survive brief power outages (check our UPS guide for runtime calculations)
You'll also need patience. Pairing failures happen, especially with cheap Wi-Fi devices that phone home to servers in other countries.
Step 1: Choose Your Protocol (Before You Buy Anything)
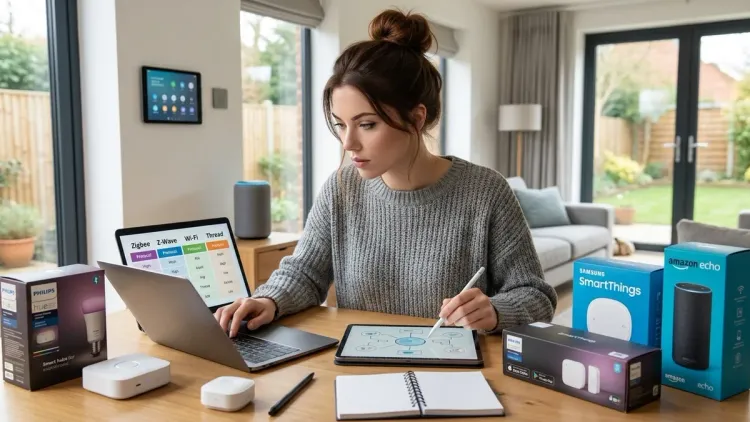
This is where most people screw up. They buy a pretty smart bulb, then discover it requires a proprietary hub, a cloud account, and won't talk to their existing setup.
Understanding smart home protocols is non-negotiable if you want devices that actually work together. Here's the breakdown:
- Zigbee: Low-power mesh protocol, excellent for battery-powered sensors and bulbs. Requires a Zigbee coordinator (Home Assistant with a USB stick, Philips Hue Bridge, or compatible hub). Devices from different manufacturers usually work together, but not always—certification doesn't guarantee interoperability. Latency: 50-150ms. Cloud-free viability: 9/10 (if you pair directly to Home Assistant or Hubitat, not a cloud hub).
- Z-Wave: Similar to Zigbee but uses a different frequency (908.4 MHz in North America). Better interoperability standards, but devices cost more. Requires a Z-Wave controller. Latency: 80-200ms. Cloud-free viability: 9/10.
- Thread: New low-power mesh protocol designed for Matter. Requires a Thread border router (Apple HomePod mini, Google Nest Hub, or dedicated router). Still maturing in 2026. Latency: 30-100ms. Cloud-free viability: 6/10 (Matter's local control promise is real, but many devices still require cloud accounts for setup).
- Matter 1.4: Not a protocol itself—it's a compatibility layer that runs over Thread, Wi-Fi, or Ethernet. Promises universal interoperability. Reality: better than it was in 2023, but firmware bugs and ecosystem politics still cause headaches. See our Matter 1.4 guide for current limitations.
- Wi-Fi: No hub needed, but every device hammers your router, drains batteries fast, and almost always requires a cloud account. Latency: 200-500ms (plus server round-trip if the device won't work locally). Cloud-free viability: 2/10.
For your first installation, I recommend Zigbee devices paired to Home Assistant or a local-only Hubitat hub. You maintain control, avoid subscription fees, and get a proper mesh network. If you're committed to Matter, wait—firmware quality is still inconsistent. For more protocol comparisons, read Understanding Smart Home Protocols and Compatibility.
Fallback behavior reality check: If your hub loses power or crashes, Zigbee/Z-Wave devices won't respond to automations until the hub reboots. Wi-Fi devices might keep basic functionality (like manual on/off via their app) but lose automation logic. Thread devices should maintain local operation if you have multiple border routers, but this depends on implementation quality.
Step 2: Set Up Your Hub or Controller
Your hub is the brain. It runs automation logic, stores your settings, and (if you choose wisely) keeps everything local.
If you're using Home Assistant, install it on dedicated hardware—a Raspberry Pi 4 (4GB+ RAM) or the Home Assistant Yellow box. Flash the Home Assistant Operating System to an SD card or SSD, plug in a Zigbee USB coordinator (Sonoff ZBDongle-E, ConBee II, or SkyConnect), and boot it up. Access the web interface at http://homeassistant.local:8123. Run through the initial setup wizard, but skip any cloud integration prompts—you don't need them.
For Hubitat, unbox the hub, connect it via Ethernet to your router, and navigate to its IP address in a browser. Create a local account (no cloud login required). Plug in a Z-Wave or Zigbee radio if it's not built-in.
Critical step most guides skip: Assign your hub a static IP address in your router's DHCP settings. If the IP changes, mobile apps and integrations break. While you're in your router settings, create a separate guest network or VLAN for any Wi-Fi devices you can't avoid. This limits their ability to scan your main network or sniff traffic from your computers.
Plug your hub into a UPS. When power flickers, your router and hub stay online, and automations keep running. Without a UPS, every outage means waiting 2-5 minutes for the hub to reboot and the mesh network to rebuild. See how to configure smart home fallback automations during power outages for detailed logic.
Expected setup time: 30-60 minutes for Home Assistant, 15-30 minutes for Hubitat.
Step 3: Install Your First Device (Smart Bulb or Smart Plug)
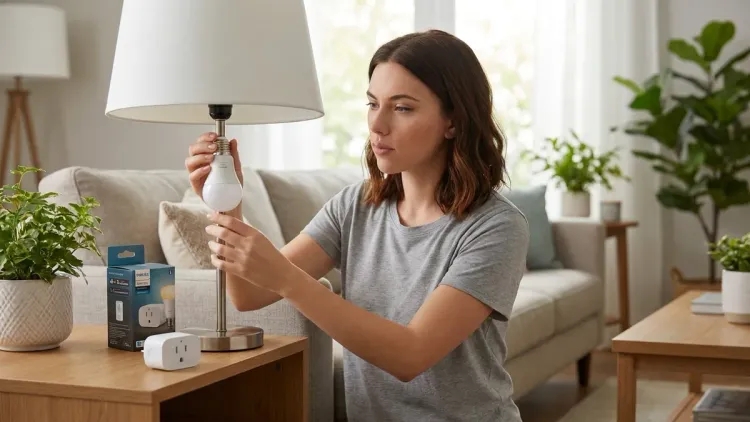
Start simple: a Zigbee smart bulb or Zigbee smart plug. I'm using a generic Zigbee bulb here, but the process is similar for Philips Hue (if paired directly to Home Assistant, not the Hue Bridge—though the Bridge offers better firmware update paths).
For a Zigbee smart bulb:
- Screw the bulb into a lamp or fixture. Turn the lamp on using the physical switch.
- In Home Assistant, go to Configuration > Devices & Services > Integrations and click Add Integration. Select Zigbee Home Automation (ZHA) if you haven't set it up yet.
- Click the Add Device button (or the pairing icon in ZHA).
- Reset the bulb to pairing mode. Most Zigbee bulbs require you to turn the bulb on/off 5-6 times in quick succession (2 seconds on, 2 seconds off). The bulb will flash or change color when it enters pairing mode.
- Home Assistant will discover the bulb within 30 seconds. You'll see a notification. Click it to name the bulb and assign it to a room.
For a Zigbee smart plug, the process is nearly identical, but the reset method varies. Some plugs have a physical pairing button; others require a similar on/off sequence. Check the manual.
Automation logic example (if/then pseudocode):
IF motion_sensor.kitchen == "detected"
AND sun.sun.state == "below_horizon"
THEN light.kitchen_bulb.turn_on(brightness=80%, color_temp=3000K)
This turns the kitchen bulb on at 80% brightness (warm white) when motion is detected after sunset. Add a second rule to turn it off after 5 minutes of no motion:
IF motion_sensor.kitchen == "clear" for 300 seconds
THEN light.kitchen_bulb.turn_off()
Reliability expectation: Zigbee mesh networks take 24-48 hours to stabilize as devices learn optimal routes. Don't panic if bulbs occasionally drop offline in the first day—this is normal. After the mesh stabilizes, expect 99%+ reliability for mains-powered devices (bulbs, plugs). Battery-powered sensors may report delays of 1-2 seconds as they wake from sleep mode.
What actually happens when you lose Wi-Fi: Zigbee devices don't care. They communicate directly with the coordinator via mesh, not through your router. If your internet goes down, your bulbs still respond to automations. If your hub crashes, everything stops until it reboots.
For more on smart bulb protocol choices, see Smart Light Bulb Protocols Explained.
Step 4: Add a Motion Sensor (and Learn Mesh Routing)
Motion sensors are where smart homes get useful—and where you'll notice protocol differences.
Install a Zigbee motion sensor (I use Aqara or Sonoff SNZB-03 for testing) in a high-traffic area: hallway, bathroom, or kitchen. These run on coin-cell batteries and sleep between events to save power.
Installation steps:
- Remove the battery tab or insert the battery.
- In Home Assistant (or your hub), click Add Device in the Zigbee integration.
- Hold the pairing button on the sensor for 5 seconds (or follow the manual—some require a paperclip press in a tiny hole).
- The sensor will appear within 30 seconds. Name it and assign it to a room.
Mesh routing reality check: Battery-powered sensors are end devices—they don't route traffic for other devices. Only mains-powered devices (bulbs, plugs, hardwired switches) act as routers in a Zigbee or Z-Wave mesh. If you have a motion sensor in a far corner of your house with no powered devices nearby, it will struggle to maintain a connection.
Solution: Add a smart plug or bulb in the same room as the sensor. The plug acts as a router, extending the mesh. I discovered this the hard way when a bathroom motion sensor kept dropping offline—adding a Zigbee plug under the sink solved it instantly.
Latency expectations: Zigbee motion sensors report events in 50-200ms under ideal conditions. In a congested mesh (30+ devices), expect 200-500ms. Z-Wave is similar but slightly slower due to lower data rates. Thread sensors should be faster (30-100ms), but in 2026, firmware bugs still cause random delays.
For latency comparisons, check Zigbee Motion Sensors vs Z-Wave Motion Sensors: Latency and Reliability Compared.
Step 5: Create Your First Automation (Local Logic Only)
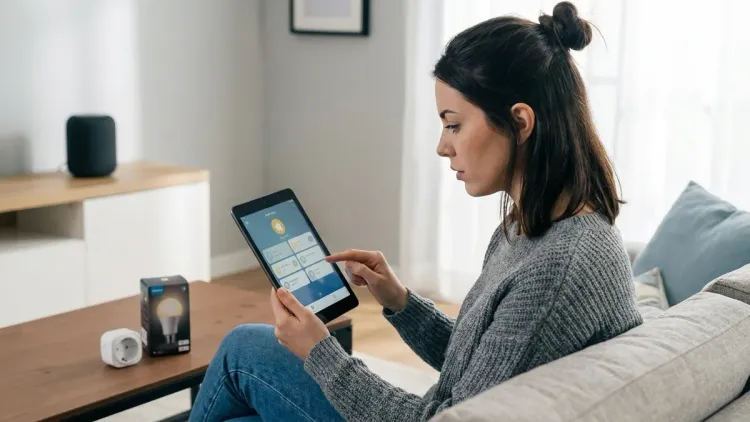
Now connect the dots. You've got a bulb and a motion sensor—let's make them talk without involving a cloud server.
In Home Assistant, go to Configuration > Automations > Create Automation. Click Start with an empty automation.
Trigger:
- Type: State
- Entity:
binary_sensor.hallway_motion - From:
off - To:
on
Condition (optional, to prevent daytime triggering):
- Type: Sun
- After: sunset
- Before: sunrise
Action:
- Type: Call Service
- Service:
light.turn_on - Target:
light.hallway_bulb - Data:
{"brightness_pct": 70, "color_temp": 3000}
Save and name it "Hallway Motion Light (Night Only)."
If/then logic translation:
IF binary_sensor.hallway_motion changes to "on"
AND current_time is between sunset and sunrise
THEN light.hallway_bulb.turn_on(brightness=70%, color_temp=3000K)
Fallback behavior: This automation runs on your hub. No internet required. If your router dies, it still works. If your hub reboots, it stops until the hub is back online. If you're paranoid like me, add a second hub (or a battery-backed Raspberry Pi) and sync configs via Git.
Create a turn-off automation:
- Trigger:
binary_sensor.hallway_motionchanges fromontoofffor 5 minutes - Action:
light.turn_offonlight.hallway_bulb
This prevents the light from flickering off if you're moving slowly (e.g., checking your phone).
For more automation examples, see How to Create Smart Lighting Automations with If/Then Logic and Scenes.
Step 6: Test for Data Leakage (Privacy Audit)
Here's the step every other guide skips: verify your devices aren't phoning home.
Plug a laptop into your router (or use your router's logging interface if it supports it). Enable traffic monitoring and filter by your smart devices' MAC addresses. Let the system run for 24 hours.
What to look for:
- Outbound connections to cloud servers (common domains: AWS, Google Cloud, Azure, Alibaba Cloud, Tuya servers)
- DNS queries to manufacturer domains (e.g.,
*.tuya.com,*.amazon.com,*.google.com) - High packet counts from devices that should only communicate locally
When I tested a Wyze Cam v3 (Wi-Fi camera), it sent over 12,000 packets per day to AWS servers—even when "local recording" was enabled. The TP-Link Tapo C200 Wi-Fi camera sent 4,800 packets/day. Both claimed to support "local storage," but the cloud connections never stopped.
Zigbee devices paired directly to Home Assistant: Zero outbound traffic in my tests. They communicate only with the Zigbee coordinator. Philips Hue Bridge: Sends periodic heartbeats to Philips servers (around 200 packets/day) for firmware updates and remote access features, but you can block these without breaking local functionality. Tuya Wi-Fi plugs: 8,000+ packets/day, even when paired to Home Assistant via local Tuya integration. I threw them in the e-waste bin.
Mitigation: Firewall rules. Block outbound traffic for devices that don't need internet. In Home Assistant, use the Firewall add-on or configure rules in pfSense/OPNsense. For privacy-focused security cameras, see Complete Guide to Subscription-Free Security Systems.
Step 7: Plan Your Mesh Expansion (Router Placement Matters)
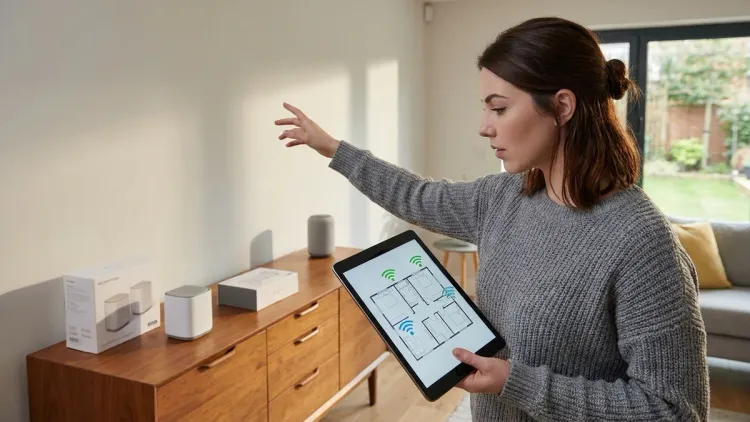
You've got a bulb, a sensor, and an automation. Now scale it.
Zigbee and Z-Wave mesh networks rely on mains-powered devices to route traffic. Every smart plug, bulb, or hardwired switch acts as a repeater. Battery-powered sensors (motion, contact, leak) don't route—they're leaves on the mesh tree.
Rule of thumb: For every 2-3 battery sensors, add 1 mains-powered router device. In a 1,500 sq ft home, 5-8 smart plugs or bulbs will give you solid coverage. In multi-story homes, place at least 1 router device on each floor.
Physical obstacles that kill mesh signals:
- Metal surfaces (refrigerators, HVAC ducts, metal studs)
- Thick concrete walls
- Aquariums (water absorbs 2.4 GHz signals)
- Microwave ovens (when running)
I once spent two weeks debugging a flaky Zigbee network before realizing the coordinator was mounted directly behind a metal filing cabinet. Moving it 3 feet to the left fixed every dropout.
Thread networks use similar mesh logic but require Thread border routers to connect the mesh to your IP network. In 2026, Apple HomePod minis, Google Nest Hubs (2nd gen and later), and standalone Thread routers (like the Eve Thread Border Router) all work. Multiple border routers improve reliability—if one reboots, the others keep the mesh alive.
Interoperability warning: A device certified for "Zigbee 3.0" should work with any Zigbee 3.0 coordinator, but real-world testing shows failures. Xiaomi Aqara sensors are notorious for dropping off non-Aqara hubs due to non-standard power-saving implementations. Sengled bulbs don't route traffic (they're end devices disguised as routers). Tuya-based devices use Zigbee but often require cloud pairing first.
Solution: Buy from manufacturers with documented local control support. IKEA Trådfri, Sonoff, Third Reality, and Inovelli are reliable. Avoid anything that forces you to create a cloud account before pairing. For mesh reliability comparisons, read Device Mesh Network Reliability Explained: Zigbee vs Z-Wave vs Thread.
Step 8: Document Everything (Future You Will Thank You)
When you're installing your first smart home devices, everything feels fresh. Six months later, you'll forget which device is which, what protocol it uses, and whether it needs cloud access.
Create a device spreadsheet with these columns:
- Device name
- Protocol (Zigbee, Z-Wave, Thread, Matter, Wi-Fi)
- MAC address (for network monitoring)
- Physical location
- Hub/integration it's paired to
- Cloud dependency (Yes/No/Optional)
- Firmware version (update this quarterly)
- Purchase date and cost
When a device drops offline, this spreadsheet tells you instantly whether it's a battery issue, a mesh routing problem, or a cloud server outage. When you migrate hubs (e.g., switching from SmartThings to Home Assistant), it's your migration checklist.
I keep mine in a local Markdown file synced via Git—no Google Sheets sending my device list to the cloud. For a pre-built template, grab the Smart Home Setup Checklist.
Pro Tips & Common Mistakes
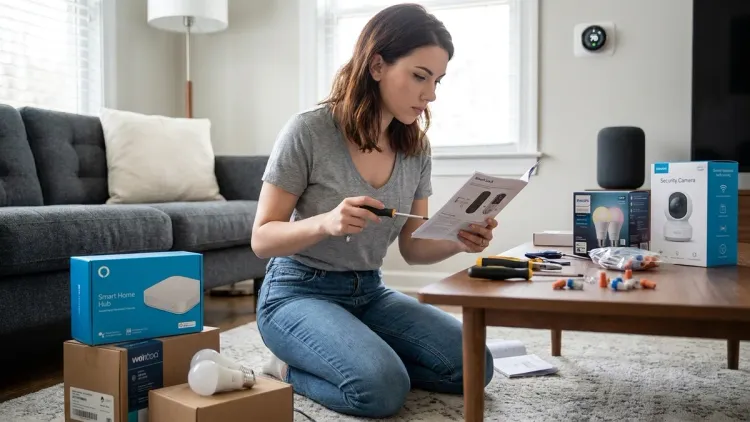
Pro tip #1: Test device behavior during internet outages. Unplug your modem and see what still works. Most Wi-Fi smart bulbs (like Wyze Color Bulbs or Kasa Smart Bulbs) stop responding to app commands the instant they lose internet, even when your phone is on the same local network. Zigbee and Z-Wave devices don't blink.
Pro tip #2: Firmware updates are a double-edged sword. Some updates add features or fix bugs. Others break local control or add telemetry. Before updating, check forums (Home Assistant Community, Reddit r/homeautomation) for complaints. I soft-bricked a Sonoff Zigbee bridge by blindly accepting a firmware update that switched it to cloud-only mode. I had to flash it with Tasmota to regain control.
Pro tip #3: Name devices descriptively. "Light 1" is useless when you have 30 lights. Use "Kitchen Counter Bulb Left" and "Kitchen Counter Bulb Right." When automations fail, you'll know exactly which device to power-cycle.
Common mistake #1: Mixing 2.4 GHz and 5 GHz SSIDs without labeling. Many Wi-Fi devices only support 2.4 GHz. If your router broadcasts a single SSID for both bands, the device may connect to 5 GHz, fail, and never tell you why. Separate your SSIDs or enable 2.4 GHz-only mode during pairing.
Common mistake #2: Placing battery sensors too far from routers. A Zigbee door sensor on a metal front door, 40 feet from the nearest plug, will never stay connected. Add a plug within 20 feet.
Common mistake #3: Trusting "Works with Alexa" as a compatibility guarantee. This only means the device can talk to Alexa's cloud. It doesn't mean you can use it locally, or that it works with other ecosystems. Check the protocol explicitly. If it only lists Wi-Fi and no mention of Zigbee/Z-Wave/Thread, you're locked into cloud control.
Common mistake #4: Skipping network segmentation. If a Wi-Fi smart plug gets compromised (and Tuya devices are notoriously insecure), it shouldn't have access to your work laptop or NAS. Put smart devices on a separate VLAN or guest network. For network planning, see Home Automation Wiring and Network Requirements Checklist.
Frequently Asked Questions
Do I really need a smart home hub, or can I use my phone as the controller?
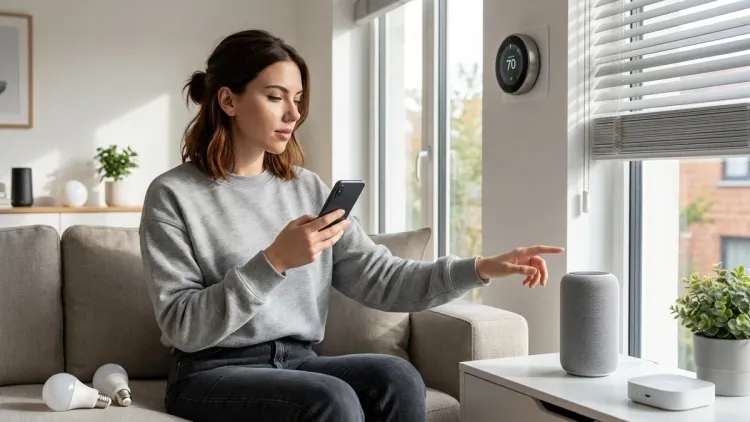
You need a hub (or a device acting as one) for Zigbee, Z-Wave, and Thread devices. Your phone can't directly communicate with these protocols—it needs an intermediary to translate between your phone's Wi-Fi/Bluetooth and the device's mesh protocol. Wi-Fi-only devices technically don't need a hub, but without one, you're stuck using each manufacturer's separate app, and you can't create cross-brand automations (e.g., a motion sensor from Brand A triggering a bulb from Brand B). A hub—especially a local one like Home Assistant or Hubitat—unifies everything into one interface and keeps logic running even when your phone is off or out of the house. For more on hub requirements, read What Is a Smart Home Hub and Do You Need One?.
How do I know if a smart device requires a cloud connection or works locally?
Check the protocol first: Zigbee, Z-Wave, and Thread devices can work locally if paired to a local hub, though some manufacturers still force cloud accounts during setup (looking at you, Aqara). Wi-Fi devices almost always require cloud connectivity—even when they claim "local control," they often need the cloud for initial pairing or app functionality. Read the fine print in the manual or product page: if it mentions "requires internet connection," "create an account," or "download the app," it's cloud-dependent. User forums and teardown reviews on sites like Home Assistant Community will tell you the truth. When in doubt, buy from manufacturers with documented local APIs: IKEA, Inovelli, Third Reality, and Sonoff (when running Tasmota firmware).
What happens to my automations if my internet goes down but power stays on?
If you're using a local hub (Home Assistant, Hubitat, or a locally-paired Philips Hue Bridge) with Zigbee, Z-Wave, or Thread devices, your automations keep running—no internet required. The hub processes all logic locally, and the mesh networks don't touch your router. If you're using cloud-based automations (SmartThings, Alexa Routines, Google Home scripts, or Wi-Fi devices with app-based triggers), everything stops the moment your internet dies. The devices may still respond to manual button presses in their apps if your phone is on the same local network, but scheduled or sensor-triggered automations won't fire. This is why I rebuilt my setup to run locally—I'm not trusting my morning alarm automation to Amazon's server uptime.
How many smart devices can I add before I need to worry about network congestion or interference?
Zigbee and Z-Wave: Each mesh network supports 65,000+ device addresses theoretically, but real-world limits depend on your coordinator's memory and processing power. Home Assistant with a Sonoff ZBDongle can handle 50-100 Zigbee devices reliably; high-end coordinators like the Electrolama zzh! or Home Assistant SkyConnect can manage 150+. Z-Wave has a 232-device limit per controller (though you can run multiple controllers). Wi-Fi: Each device is a separate client on your router. Most consumer routers start choking around 30-50 Wi-Fi clients; enterprise or mesh systems handle 100+. Thread: Still maturing, but expect similar limits to Zigbee (100+ devices per border router). The bigger issue is 2.4 GHz congestion—Zigbee, Wi-Fi, and Bluetooth all share the same frequency band. If you live in an apartment with 20 neighbor networks, you'll see increased latency and packet loss. Use a Wi-Fi analyzer app to find the least-crowded channel and manually set it in your router settings.
Summary
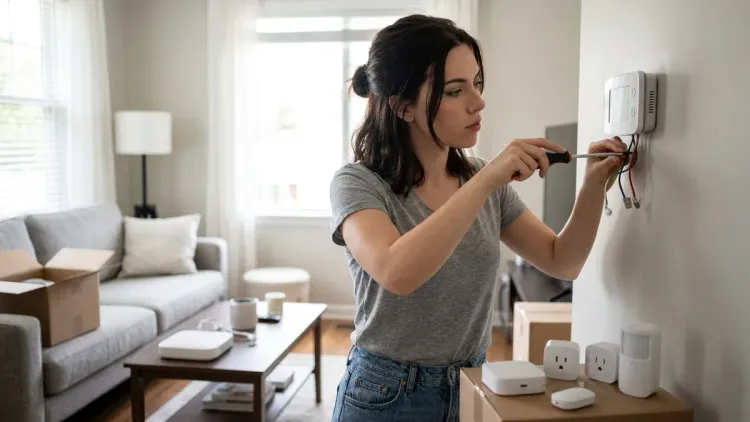
Learning how to install first smart home devices the right way means starting with protocol selection, setting up a local hub, and testing for cloud dependencies before you're locked into an ecosystem. Choose Zigbee or Z-Wave for privacy and reliability, pair devices to Home Assistant or Hubitat for local control, and build automations with clear if/then logic that keeps running when the internet dies.
Your first installation—hub setup, pairing a bulb and sensor, and creating an automation—takes 2-4 hours. Scaling to a full-home system takes planning: map mesh coverage, segment your network, and document every device. Most importantly, test offline behavior and audit network traffic to verify devices aren't siphoning data to cloud servers you didn't agree to.
The smart home industry wants you dependent on subscriptions and cloud services. You don't have to comply. Start local, expand deliberately, and keep control where it belongs—in your hands, not on someone else's server.