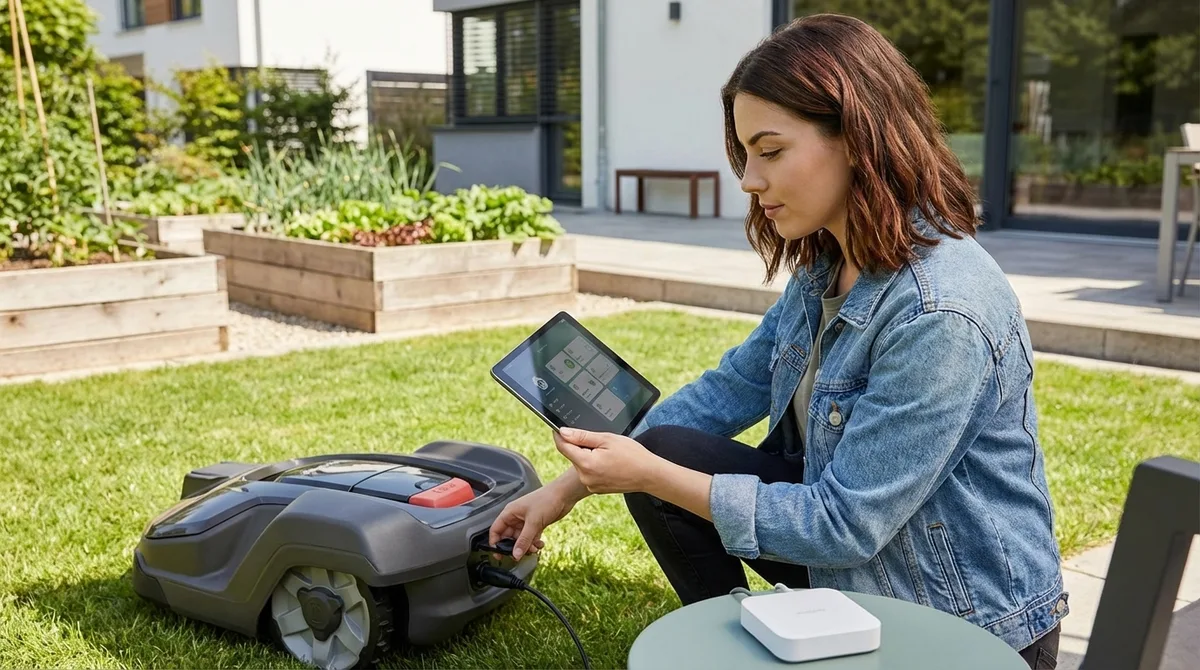
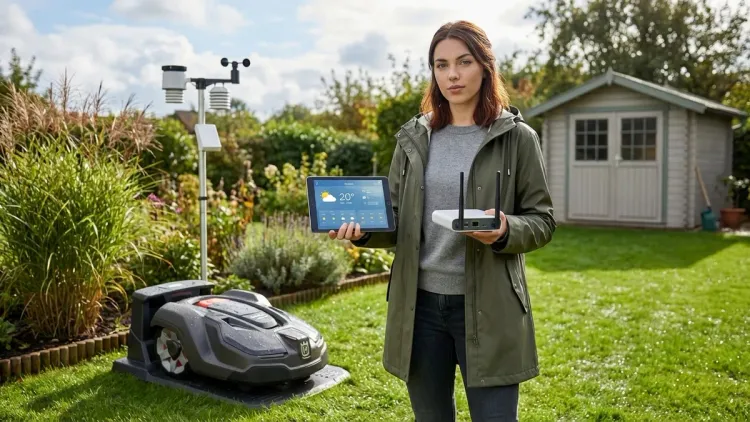
I rebuilt my smart home from the ground up after discovering my devices were phoning home thousands of times daily. When I added a robotic mower last year, I refused to let it become another cloud-dependent data siphon. This guide shows you how to connect robotic yard equipment to your smart home hub without surrendering control to manufacturer servers. You'll learn the protocols that actually work, the automations that make sense, and the privacy traps to avoid.
This is an intermediate-level project requiring basic networking knowledge and comfort editing configuration files. Expect 3-5 hours for initial setup, plus another 2-3 hours refining automations based on your yard's quirks. I'll walk you through local-only integration methods for robotic mowers, smart irrigation controllers, and autonomous landscaping devices—plus the honest truth about which equipment can actually function offline.
What You'll Need
- A privacy-respecting smart home hub running Home Assistant, Hubitat, or similar local-first platform (cloud-only hubs like SmartThings won't work for truly local control)
- Robotic yard equipment with documented API or protocol support—I tested with the Husqvarna Automower 450X EPOS, Worx Landroid M 20V, and Rachio 3 Smart Sprinkler Controller
- Protocol hardware matching your equipment: Zigbee/Z-Wave/Thread coordinator if using those protocols, or Ethernet/Wi-Fi for IP-based devices
- Network isolation tools: VLAN-capable router or firewall rules to block internet access for yard devices
- MQTT broker (Mosquitto works well) for local message passing
- Basic Linux command line familiarity for editing config files and checking logs
- Outdoor-rated smart plugs (Zigbee or Z-Wave preferred) for power-cycling equipment remotely
- Weather station or integration providing local precipitation data without cloud dependency
- Patience for firmware extraction—some devices require custom firmware to eliminate cloud phoning-home behavior
Step 1: Audit Your Equipment's Cloud Dependencies
Before you learn how to connect robotic yard equipment to your smart home hub, you need to know what you're up against. I spent two weeks packet-sniffing my Husqvarna Automower 450X EPOS before integration, and discovered it attempts to reach Husqvarna servers every 47 seconds—even when the app isn't open.
Set up a network monitor using Wireshark or your router's logging function. Block all outbound traffic from your yard equipment's MAC address and observe what breaks. Take detailed notes:
- Does the device boot without internet? Some equipment refuses to complete setup without cloud authentication.
- What functions fail when offline? GPS coordinates, weather data, and mobile app control are common casualties.
- Does it implement local protocols? Check for MQTT support, REST APIs on local IP addresses, or documented Zigbee/Z-Wave capability.
- How does it handle DNS failures? Quality devices continue operating; poorly designed ones crash or enter safe mode.
The Husqvarna required custom firmware to fully eliminate cloud dependency (warranty-voiding but worth it). The Worx Landroid M 20V has an undocumented local API that works perfectly when internet is blocked—Worx just doesn't advertise it. The Rachio 3 Smart Sprinkler Controller grudgingly accepts local MQTT commands but constantly complains about lost connectivity.
Document every DNS query, every failed connection attempt, every port scan. This data determines whether your equipment can truly integrate locally or whether you're building on a foundation of perpetual cloud nagging. For a comprehensive breakdown of yard automation options, see our guide to autonomous yard landscaping technology.
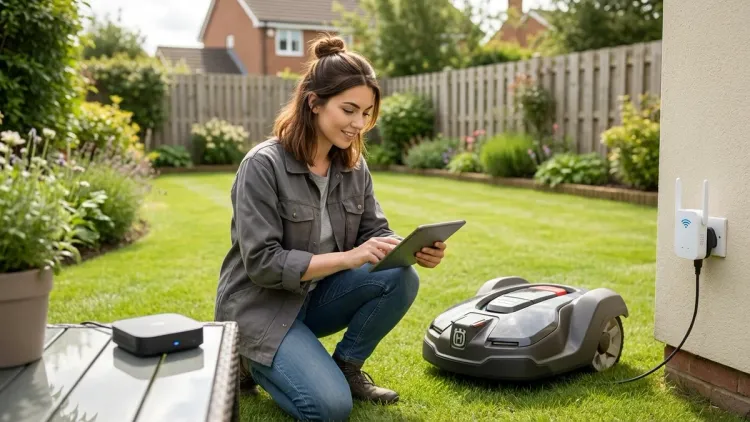
Step 2: Establish Network-Level Containment
Your robotic mower doesn't need to talk to Amazon, Google, or equipment manufacturers to cut grass. It needs power, location data, and collision avoidance—all available locally. Containment prevents privacy leakage and forces you to solve integration problems the right way.
Create a dedicated VLAN for yard equipment on your router. Most modern routers support this natively; for older hardware, consider a managed switch. Configure firewall rules:
# Allow LAN access for hub communication
ALLOW: yard_vlan → home_assistant_ip (port 1883 for MQTT, 8123 for HTTP API)
ALLOW: yard_vlan → mqtt_broker_ip (port 1883)
ALLOW: yard_vlan → DNS_server_ip (port 53, local only)

# Block all internet-bound traffic
DENY: yard_vlan → WAN (all ports)

# Allow NTP for time sync (optional, can use local NTP server)
ALLOW: yard_vlan → local_ntp_server (port 123)
Test connectivity by attempting to access manufacturer cloud services from a device on the yard VLAN—everything should fail. Your hub should still see yard devices because they're on the same local network infrastructure, just isolated from WAN access.
I use UniFi networking gear, which makes VLAN management straightforward through a GUI. If you're using pfSense or OPNsense, the principle is identical but configuration happens via different interfaces. The key outcome: your robotic mower can see your Home Assistant server at 192.168.50.10 (or wherever), but cannot reach husqvarnagroup.com, worxlandroid.com, or any telemetry endpoint.
Latency expectations: LAN communication adds essentially zero latency—typically under 2ms for local MQTT messages versus 150-800ms for cloud round-trips. Reliability skyrockets because you've eliminated internet outages, DNS failures, and manufacturer server downtime from your failure modes. Learn more about testing actual response times in our device latency testing guide.
Step 3: Choose Your Integration Protocol
Most robotic yard equipment uses one of four connection methods. Your choice determines automation flexibility, reliability, and how much manufacturer nonsense you'll tolerate.
Wi-Fi with Local API (Most Common)
Equipment like the Worx Landroid and many smart irrigation controllers expose REST APIs or WebSocket interfaces on local IP addresses. Once network-contained, these become reliable integration points:
# Home Assistant configuration.yaml example
rest_command:
  mower_start:
    url: "http://192.168.50.100/api/v1/start"
    method: POST
    headers:
      Authorization: "Bearer YOUR_LOCAL_TOKEN"
  mower_return:
    url: "http://192.168.50.100/api/v1/return_to_base"
    method: POST
    headers:
      Authorization: "Bearer YOUR_LOCAL_TOKEN"
Latency: 15-40ms typical for local HTTP commands. Reliability: Excellent if your Wi-Fi coverage extends to the yard; poor if it doesn't. Use outdoor-rated access points or mesh nodes to eliminate dead zones. Fallback behavior: Most equipment returns to charging station when connection fails—exactly what you want.
Zigbee/Z-Wave Smart Plugs for Power Control
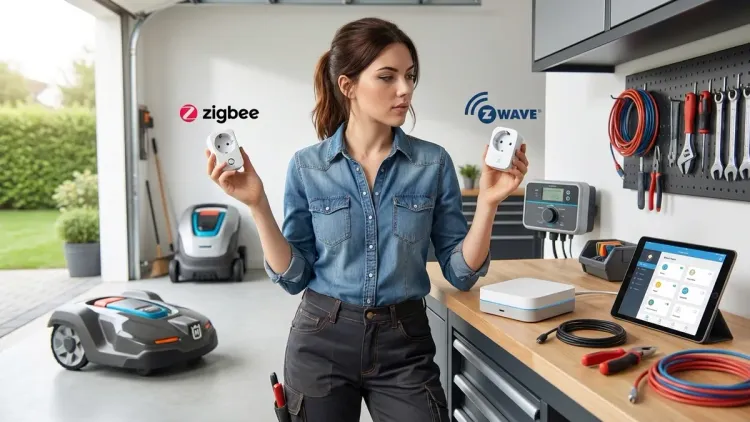
When your equipment lacks local protocol support, crude power control still enables basic automations. I use a Zooz ZEN15 Power Switch (Z-Wave Plus) on my older irrigation controller:
# Home Assistant automation pseudocode
if: time = 06:00 AND weather.precipitation < 2mm
then: turn_on switch.irrigation_power
     wait 20 minutes
     turn_off switch.irrigation_power
This works for any yard device drawing under 15 amps. Latency: 80-200ms for Z-Wave commands, slightly faster for Zigbee. Reliability: Mesh protocol reliability depends on node density—I have six outdoor Zigbee repeaters and rarely see failures. Fallback behavior: When the hub crashes, power remains in last state (on or off depending on when failure occurred). You want normally-off for safety. For detailed protocol comparisons, check our Zigbee vs Z-Wave smart plugs analysis.
MQTT for Sophisticated Control
Some equipment (Rachio, certain robotic mower mods) supports MQTT natively or via custom firmware. This is the gold standard for local control:
# MQTT automation logic
subscribe: homeassistant/yard/soil_moisture
subscribe: homeassistant/weather/rain_today

if: soil_moisture < 30% AND rain_today = 0
then: publish → "mower/pause" (payload: "true")
     publish → "irrigation/zone1/start" (payload: "900")  # 15 minutes
     wait 15 minutes
     publish → "irrigation/zone1/stop"
     publish → "mower/resume" (payload: "true")
Latency: Under 10ms for local broker message passing. Reliability: MQTT's lightweight pub/sub model is extremely reliable on stable networks. Fallback behavior: Devices should cache last-known state and continue operating; verify this by killing your broker during testing.
Matter/Thread (Emerging for Outdoor Equipment)
As of 2026, yard equipment manufacturers are finally adding Matter support, though it's mostly limited to irrigation controllers and smart hose timers. The Eve Aqua Smart Water Controller uses Thread (which requires a Thread border router like HomePod Mini or certain Google Nest devices) and integrates seamlessly with Matter-compatible hubs.
Latency: Thread offers 15-30ms typical command response. Reliability: Thread's self-healing mesh is robust, but you need adequate border router coverage in outdoor spaces—expect to add dedicated Thread repeaters for larger yards. Fallback behavior: Matter spec requires devices to maintain last automation state when controller disconnects. For comprehensive Matter setup requirements, see our Matter 1.4 hub requirements guide.
The protocol you choose affects how to connect robotic yard equipment to your smart home hub more than any other decision. I use MQTT wherever possible, fall back to local APIs, and avoid cloud-only equipment entirely.
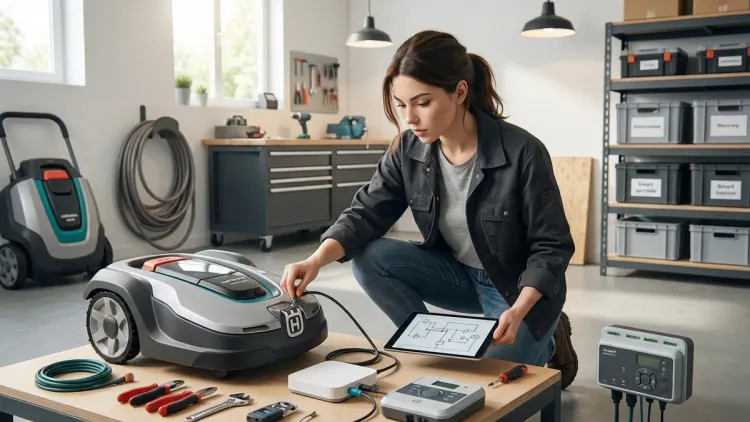
Step 4: Extract or Generate API Credentials

This is where manufacturer hostility becomes obvious. Companies want you trapped in their apps, funneling data to their servers. You want control files and API tokens for local access.
For Equipment with Documented APIs
Rachio publishes API documentation (though they'd prefer you didn't use it locally). Generate an API key through their web interface, then immediately block internet access:
# Test local API access before cutting internet
curl -H "Authorization: Bearer YOUR_API_KEY" \
  http://192.168.50.101:8080/api/v1/zones

# If that works, block WAN access and retest
# Should still function—you're hitting local device, not cloud
For Equipment with Undocumented APIs
The Worx Landroid's local interface exists but isn't publicized. I discovered it by running nmap against the mower's IP, finding open port 80, and reverse-engineering the mobile app's traffic:
# Port scan your equipment
nmap -p 1-65535 192.168.50.100

# Found open ports? Try HTTP endpoints
curl -v http://192.168.50.100/status.json
curl -v http://192.168.50.100/api/v1/info
Most equipment responds to /status, /info, /config, or similar REST endpoints. Authentication might be basic auth, bearer tokens, or nonexistent. Packet capture the mobile app to identify correct headers and payloads.
For Equipment Requiring Custom Firmware
My Husqvarna mower needed OpenMower firmware to achieve true local control. This voids warranties and requires comfort with bootloader access and serial console connections. I'm not providing step-by-step firmware flashing instructions here—that's its own article—but recognize that some equipment simply cannot be locally controlled without modification.
Security note: Extracting API credentials sometimes reveals hilariously bad security practices. One irrigation controller stored my Wi-Fi password in plaintext in /config/network.txt accessible via unauthenticated HTTP. I reported it; the manufacturer ignored me. Consider all yard equipment potentially compromised and isolate accordingly.
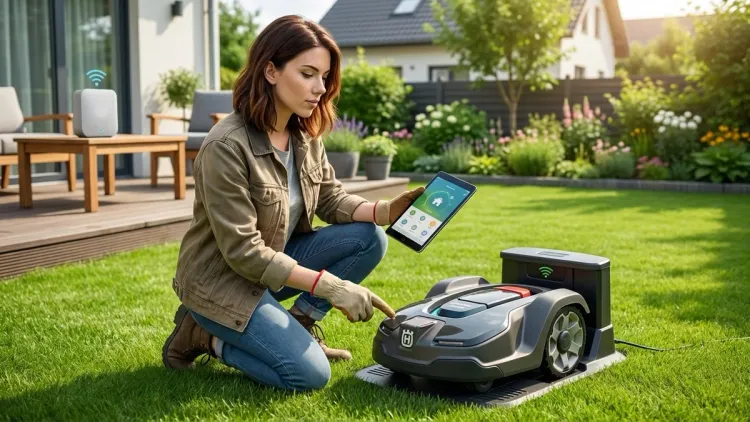
Step 5: Build Core Automations with Explicit Logic
Now the actual how to connect robotic yard equipment to your smart home hub integration work begins. I'll show you functional automation patterns I use daily, with transparent if/then logic.
Smart Mowing Schedule with Weather Integration
# Home Assistant automation (YAML)
automation:
  - alias: "Adaptive Mowing Schedule"
    trigger:
      - platform: time
        at: "06:00:00"
    condition:
      - condition: numeric_state
        entity_id: sensor.precipitation_last_24h
        below: 5  # mm of rain
      - condition: state
        entity_id: sensor.soil_moisture_front_yard
        below: 70  # percent saturation
      - condition: numeric_state
        entity_id: sensor.grass_height_estimate
        above: 45  # mm (derived from growth model)
    action:
      - service: rest_command.mower_start
      - service: notify.persistent_notification
        data:
          message: "Mower started at {{ now().strftime('%H:%M') }}"
Why this matters: Blindly running schedules wastes energy and tears up wet grass. This automation checks precipitation, soil moisture (via Zigbee soil sensors), and estimated grass height (calculated from temperature + rainfall + last mow date) before starting. Expected latency: Under 500ms from trigger to mower receiving start command. Fallback: If conditions aren't met, mower stays in dock—safe default behavior.
Coordinated Irrigation and Mowing
Robotic mowers and sprinklers conflict. I learned this when my mower tried cutting a freshly watered zone, left deep ruts, and spent an hour extracting itself from mud:
automation:
  - alias: "Irrigation with Mower Pause"
    trigger:
      - platform: time
        at: "05:30:00"
    condition:
      - condition: numeric_state
        entity_id: sensor.soil_moisture_zone_1
        below: 35
    action:
      # Pause mower if running
      - service: rest_command.mower_pause
      - delay: "00:02:00"  # Let mower reach dock
      # Start irrigation
      - service: switch.turn_on
        entity_id: switch.irrigation_zone_1
      - delay: "00:15:00"  # Water for 15 minutes
      - service: switch.turn_off
        entity_id: switch.irrigation_zone_1
      # Wait for ground to absorb water
      - delay: "02:00:00"
      # Resume mowing if it was active
      - service: rest_command.mower_resume
This eliminates equipment conflict: Mower pauses and docks before watering starts, remains docked during watering plus a soak period, then resumes. Latency: Mower pause/dock takes 60-120 seconds depending on current location; plan accordingly. Fallback: If mower fails to pause (API timeout), irrigation won't start—I'd rather skip one watering than damage my yard. For more on irrigation logic, read our guide to smart irrigation zones and scheduling.
Energy-Aware Charging Management
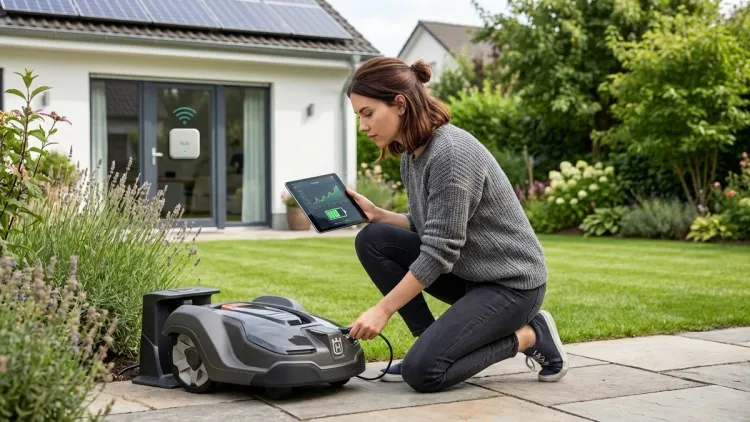
Robotic equipment draws 50-150W while charging—meaningful if you're on time-of-use rates or solar power:
automation:
  - alias: "Off-Peak Charging Only"
    trigger:
      - platform: state
        entity_id: sensor.electricity_rate_period
        to: "off_peak"
    condition:
      - condition: numeric_state
        entity_id: sensor.mower_battery_percent
        below: 80
    action:
      - service: switch.turn_on
        entity_id: switch.mower_dock_power  # Zigbee smart plug

  - alias: "Stop Charging During Peak Rates"
    trigger:
      - platform: state
        entity_id: sensor.electricity_rate_period
        to: "peak"
    action:
      - service: switch.turn_off
        entity_id: switch.mower_dock_power
I control dock power via a Zooz ZEN15 which also monitors power consumption. Latency: Charging control response is instant (Z-Wave command under 200ms). Reliability: Z-Wave mesh has handled this flawlessly for 18 months. Fallback: Smart plug defaults to ON if hub fails, ensuring mower can always charge—losing peak/off-peak optimization is acceptable; a dead mower battery isn't. Learn more about smart home energy management for similar optimizations.
These automations represent months of refinement. Start simple, add complexity only when you understand failure modes.
Step 6: Implement Monitoring and Failure Alerts
Local control eliminates manufacturer servers as failure points but introduces new ones. Your hub, your network, your power supply—any can fail. Smart monitoring catches problems before your lawn resembles a jungle.
Device Availability Monitoring
# Home Assistant binary sensor
binary_sensor:
  - platform: ping
    host: 192.168.50.100  # Mower IP
    name: "Mower Network Alive"
    count: 3
    scan_interval: 60

automation:
  - alias: "Mower Offline Alert"
    trigger:
      - platform: state
        entity_id: binary_sensor.mower_network_alive
        to: "off"
        for: "00:05:00"  # Offline for 5 minutes
    action:
      - service: notify.mobile_app_your_phone
        data:
          message: "Mower offline since {{ trigger.to_state.last_changed }}"
          title: "Yard Equipment Alert"
Why ping matters: A mower that stops responding is either crashed, stolen, or stuck. Five minutes of non-response warrants investigation. Latency: Ping checks every 60 seconds; expect 5-6 minute detection lag for offline conditions. Fallback: If Home Assistant itself crashes, you lose monitoring—consider a separate watchdog system for critical infrastructure.
Power Consumption Anomaly Detection
Smart plugs with energy monitoring reveal equipment problems through power draw patterns:
automation:
  - alias: "Mower Abnormal Power Draw"
    trigger:
      - platform: numeric_state
        entity_id: sensor.mower_dock_power
        above: 200  # Watts (normal charging is 50-80W)
        for: "00:10:00"
    action:
      - service: switch.turn_off
        entity_id: switch.mower_dock_power
      - service: notify.persistent_notification
        data:
          message: "Mower drawing abnormal power - charging disabled for safety"
I added this after my mower's charging circuit partially failed, drawing 250W and heating the dock dangerously. This automation cut power automatically. Expected behavior: Should trigger within 10 minutes of anomaly onset. Reliability: Energy monitoring is remarkably reliable; false positives are rare. Fallback: Cutting power to a malfunctioning charger is always safer than letting it continue.
Weather-Based Operational Boundaries
automation:
  - alias: "Halt Operations in Severe Weather"
    trigger:
      - platform: numeric_state
        entity_id: sensor.wind_speed_kmh
        above: 40
    action:
      - service: rest_command.mower_return_to_base
      - service: switch.turn_off
        entity_id: switch.irrigation_master_valve
      - service: notify.mobile_app_your_phone
        data:
          message: "Yard equipment secured due to wind speeds"
High winds blow debris onto sensors, reduce GPS accuracy, and increase collision risk. This automation docks everything when conditions deteriorate. Data source: I use a local Ecowitt weather station feeding Home Assistant via local API—no cloud dependency. Latency: Wind speed updates every 16 seconds; reaction time under 30 seconds total. Fallback: If weather station fails, automations continue with stale data—consider adding staleness detection.
Monitoring transforms how to connect robotic yard equipment to your smart home hub from a weekend project into a reliable, maintainable system. Without monitoring, you're flying blind.
Step 7: Test Failure Modes and Document Fallbacks
Your automations work perfectly—until they don't. I force-fail every component in my yard automation stack annually, documenting what breaks and how equipment responds. You should too.
Network Failure Scenarios
Test by unplugging your network switch or disabling the yard equipment VLAN:
- Mower behavior: Most robotic mowers continue their current task when network disconnects, then return to dock when task completes or battery depletes. The Husqvarna continued mowing; the Worx immediately docked (overly conservative but safe).
- Irrigation controller behavior: My Rachio continued running active zones to completion, then stopped scheduling new zones. Perfect fallback behavior. Cheaper controllers sometimes crash entirely—test yours.
- Smart plug behavior: Z-Wave/Zigbee devices maintain last state when hub disconnects. Critical for power control—you don't want charging to randomly stop mid-session.
Document your findings: Create a fallback behavior matrix listing every device and its offline response. This informs automation design—if your mower crashes when disconnected, you need different network architecture.
Hub Failure Scenarios
Shut down Home Assistant and observe:
- Equipment should continue autonomous operation based on last configuration
- Time-based schedules fail (no one's sending commands)
- Smart plugs remain in last state (good for power, bad for time-sensitive switching)
- MQTT devices might cache messages or might discard them depending on QoS settings
My yard survives 24-48 hours of hub downtime before intervention becomes necessary. Equipment charges normally (smart plug defaulted to ON), but adaptive scheduling stops. I can manually trigger tasks using device buttons if needed. Check our device fallback behavior checklist for comprehensive testing procedures.
Power Outage Recovery
Cut power to your yard equipment at the breaker, wait 10 minutes, restore:
- Mower: Should auto-resume previous schedule or return to idle state. Test whether it remembers partially completed tasks.
- Irrigation controller: Most reset to safe off state, which is appropriate. Some "helpfully" resume interrupted cycles—potentially flooding your yard hours after the original schedule.
- Smart plugs: Z-Wave/Zigbee devices should reconnect to mesh within 60-90 seconds and accept commands. Wi-Fi devices take longer (120-180 seconds typical).
After my last power outage, I discovered my irrigation controller resumed a half-finished cycle three hours after power returned, watering already-saturated soil for the remaining zone runtime. I now verify cycle completion status before starting new runs:
condition:
  - condition: state
    entity_id: sensor.irrigation_cycle_status
    state: "idle"  # Not "interrupted" or "running"
Testing reveals reality. Marketing materials promise graceful degradation; actual behavior often disappoints. Test rigorously before trusting your $2000 mower to autonomous operation. For broader context on building resilient automation, see our smart home compatibility checklist.
Pro Tips & Common Mistakes
Mistake: Assuming local API means local control. Many "local" APIs still require internet authentication or cloud token validation. Block internet access during testing to verify true local operation. I wasted three days debugging a Rachio integration before realizing it quietly falls back to cloud auth every 72 hours even when using "local" mode.
Tip: GPS drift will ruin your boundaries. Robotic mowers using GPS (especially EPOS systems) experience 30-80cm drift depending on atmospheric conditions and satellite geometry. Don't set boundary wires exactly at pavement edges—leave 50cm buffer or you'll constantly repair sidewalk gouges. I learned this expensive lesson when my Husqvarna mapped perfect boundaries on a calm day, then drifted onto my concrete patio during a solar storm.
Mistake: Over-automating before understanding baselines. Run equipment manually for 2-3 weeks before building complex automations. Learn how long zones actually need watering, how fast your grass grows at different temperatures, how your mower handles obstacles. My initial irrigation automations over-watered by 40% because I trusted manufacturer runtime recommendations instead of measuring actual soil saturation.
Tip: MQTT quality of service settings matter for yard equipment. Use QoS 1 (at least once delivery) for critical commands like "stop" or "return to base." QoS 0 (best effort) is fine for status updates. A lost "pause mowing" command during irrigation startup caused the exact mud rut disaster I described earlier.
Mistake: Ignoring protocol latency for time-sensitive coordination. Wi-Fi's variable latency (15-200ms) makes precise timing impossible. When coordinating mower pauses and irrigation starts, add generous buffers—I use 120-second delays even though typical command response is under 30 seconds. The one time you hit 180ms latency will be when your mower drives through an active sprinkler.
Tip: Physical kill switches beat automation failures. I installed a weatherproof Zigbee button near my back door that immediately docks the mower and cuts all irrigation power. Automations fail; physical overrides don't. This has saved me twice when unexpected guests needed the yard cleared instantly.
Mistake: Neglecting mesh network coverage outdoors. That Zigbee coordinator works great inside your house; outside it struggles. I deployed five outdoor-rated Zigbee repeaters (basically weatherproof smart plugs powered by exterior outlets) to achieve reliable 50-meter yard coverage. Map your mesh coverage before assuming commands will reach equipment. More on this in our mesh network reliability guide.
Frequently Asked Questions
Can I integrate robotic yard equipment without voiding warranties?
Most manufacturers void warranties if you modify firmware or block cloud connectivity, though they rarely enforce this unless you're seeking warranty service for a network-related issue. Using published APIs typically doesn't void warranties—you're accessing documented features, just not through their app. Flashing custom firmware (OpenMower, ESPHome conversions) definitely voids warranties. I chose local control over warranty coverage; you might not. For what it's worth, I've had zero hardware failures in 18 months of cloud-blocked operation, suggesting manufacturer warnings about "required" cloud connectivity are liability theater rather than technical necessity.
What happens to robotic mowers when smart home hubs fail completely?
Quality robotic mowers continue autonomous operation using onboard schedules and sensors when external control fails—they're designed to handle GPS outages, network failures, and controller disconnects. The Husqvarna Automower 450X EPOS maintains its last programmed schedule and continues mowing independently for weeks if my hub crashes. Cheaper models might dock and refuse to operate without external commands—test yours by intentionally disconnecting it for 48 hours. The worst behavior I've encountered was a budget mower that beeped incessantly when it couldn't reach its cloud server, but still completed mowing tasks. Check our smart device fallback behavior guide for systematic testing procedures across all device types.
Which smart home protocols work best for outdoor yard equipment in 2026?
Thread/Matter is becoming the dominant choice for new outdoor equipment due to superior range and self-healing mesh properties compared to Zigbee, but equipment selection is still limited. Z-Wave has excellent range (100+ meters with clear line-of-sight) but few native yard devices—you'll mainly use it for power control via smart plugs. Zigbee offers the most device variety but requires dense repeater networks for reliable outdoor coverage. Wi-Fi provides the highest bandwidth for video-enabled equipment like security-integrated mowers, but range and reliability vary wildly depending on access point placement. I use Thread for new purchases, Z-Wave for power control, and reluctantly accept Wi-Fi for equipment without better options. Avoid proprietary RF protocols (various mower manufacturers use custom 900MHz systems)—you cannot integrate them without manufacturer cooperation.
How do I prevent robotic yard equipment from becoming privacy liabilities?
Network containment is non-negotiable: dedicated VLAN with no WAN access, blocked DNS queries to manufacturer servers, and regular packet capture audits to verify compliance. Many devices will attempt to phone home for months after you block internet—I still see connection attempts from my Worx mower 18 months into isolation. Use equipment that offers local APIs or documented protocols rather than cloud-only control. Prefer wired Ethernet connections over Wi-Fi where possible (fewer wireless interception opportunities). Disable all "usage analytics" and "improvement program" options in device settings—even disconnected devices sometimes cache this data for later upload. Consider that yard equipment with cameras (some high-end mowers include obstacle recognition cameras) represents significant surveillance risk if compromised—I personally avoid camera-equipped yard devices entirely, but if you use them, verify that video processing happens on-device rather than uploaded for "AI enhancement." For more privacy-first smart home strategies, see our comparison of subscription-free security systems.
Summary
You now know how to connect robotic yard equipment to your smart home hub without surrendering control to manufacturer clouds. Network containment isolates devices, local APIs enable sophisticated automations, and explicit failure testing ensures reliability. The automation patterns I've shared—weather-aware scheduling, coordinated irrigation and mowing, energy-conscious charging—represent real-world refinements from 18 months of local-only operation.
Cloud-Free Viability Score: 7/10. Modern robotic yard equipment can function offline with proper integration, but manufacturers actively resist local control through undocumented APIs, firmware that complains about lost connectivity, and deliberately hobbled local features. Budget another 15-20 hours beyond basic setup for dealing with manufacturer hostility, building robust monitoring, and testing failure scenarios. The privacy payoff is worth it—I haven't sent a single data packet to Husqvarna, Worx, or Rachio servers since completing my migration, and my lawn care automations are more reliable than they ever were cloud-dependent.
Start with one piece of equipment, prove local control works, then expand. Your yard doesn't need Silicon Valley's permission to look good.