
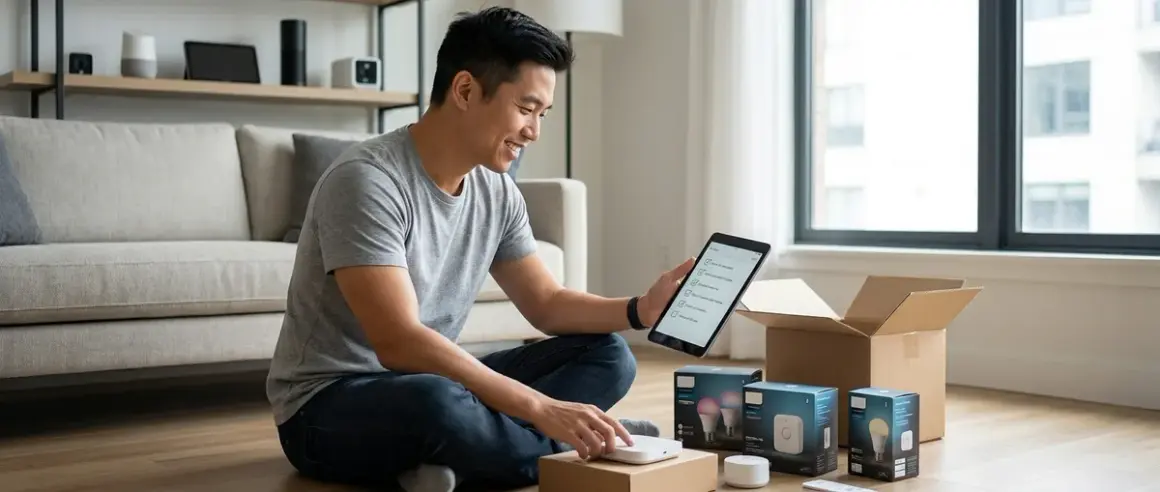

You're ready to automate your home, but walking into this without a proper smart home setup checklist is like starting construction without a blueprint. I've watched countless homeowners buy incompatible devices, struggle with protocol mismatches, and abandon perfectly good hardware because they skipped the planning phase. This checklist walks you through every essential consideration—from network infrastructure to protocol selection—before you buy your first device.
Whether you're installing five devices or fifty, you'll need to verify compatibility, understand your home's technical requirements, and plan for the inevitable moments when automation doesn't behave as expected.

Network Infrastructure Requirements
Your smart home is only as reliable as the network it runs on. Most device failures I troubleshoot trace back to inadequate Wi-Fi coverage or insufficient router capacity—not faulty hardware.
Dual-band Wi-Fi router with 2.4GHz support: Most smart home devices (especially Zigbee, Z-Wave, and Matter-over-Wi-Fi devices) require 2.4GHz connectivity. The 5GHz band won't work for 90% of smart home products, and your router needs to broadcast both bands simultaneously. If your router is older than 2021, you'll likely need an upgrade.
Mesh network coverage for homes over 1,500 sq ft: Wi-Fi dead zones kill automation reliability. I recommend testing signal strength in every room where you'll place devices—anything below -70 dBm will cause intermittent disconnections. Check our home automation wiring and network requirements checklist for detailed coverage planning.
Gigabit Ethernet ports for hub placement: If you're running a Zigbee or Z-Wave hub (like the Samsung SmartThings Hub or Hubitat Elevation), hardwiring it via Ethernet eliminates one failure point. Wi-Fi-connected hubs add latency and vulnerability during network congestion.
Dedicated IoT network (optional but recommended): Separating smart home devices onto their own SSID prevents network congestion when you're streaming video or gaming. Most modern routers support VLAN segmentation—it's a 10-minute setup that drastically improves reliability. In my experience, homes with 20+ devices benefit significantly from network isolation.
UPS backup for router and primary hub: A power outage shouldn't kill your entire automation system. A basic UPS system for your networking equipment maintains connectivity during brief outages and gives hubs time to shut down gracefully. Budget around $80-120 for a unit with 30-60 minutes of runtime.
Internet speed minimum of 25 Mbps download: Cloud-dependent devices (Wi-Fi cameras, voice assistants) struggle on slower connections. If you're running security cameras that upload to the cloud, add 2-5 Mbps per camera to your bandwidth calculation.
Protocol and Ecosystem Selection
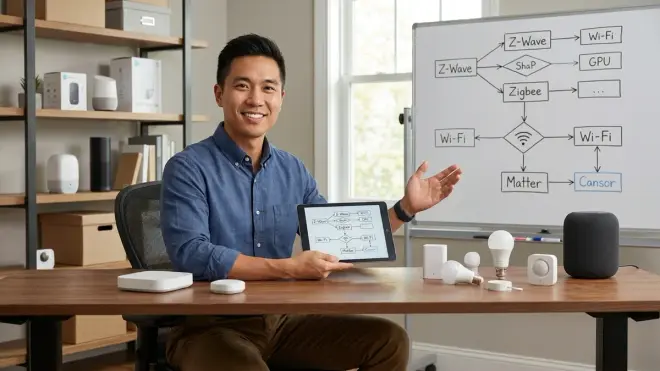
This is where most first-timers make expensive mistakes. You cannot mix protocols freely—Zigbee devices won't talk to Z-Wave hubs, Wi-Fi devices don't need hubs at all, and Matter compatibility is still evolving in 2026. Your smart home setup checklist must start with protocol decisions.
Choose one primary protocol for core automation: Zigbee, Z-Wave, Thread, or Wi-Fi. I typically recommend Zigbee for beginners—it has the widest device selection, strong mesh networking (20-30 devices per hub), and sub-100ms latency for light switches and sensors. Z-Wave offers better range (100m vs 10-20m for Zigbee) but fewer device options. Thread is excellent for latency-sensitive applications but requires Matter-compatible controllers.
Verify Matter 1.4 compatibility if future-proofing: Matter bridges ecosystems (Alexa, Google Home, Apple HomeKit) but only if every device in the chain supports it. In 2026, Matter-compatible devices are common but not universal. Don't assume a "smart" device works with Matter—check the protocol specs explicitly. Our Matter 1.4 compatibility checklist covers verification steps.
Select voice assistant platform before buying devices: Alexa vs Google Assistant isn't just about preference—it determines which devices offer native integration vs. requiring workarounds. If you choose Google Home, verify that Zigbee devices support Google Assistant natively (many require a compatible hub like SmartThings). Apple HomeKit users face the narrowest device selection but benefit from superior local processing.
Plan for hub requirements: Zigbee and Z-Wave always require a hub. Thread requires a border router (like Apple TV 4K, Google Nest Hub Max, or dedicated Thread controllers). Wi-Fi devices connect directly to your router—no hub needed, but you're locked into each manufacturer's cloud service. Check which devices need a bridge before ordering.
Understand mesh network scaling limits: Zigbee hubs support 20-32 devices reliably; beyond that, you'll experience packet collisions and latency spikes. Z-Wave scales to ~230 devices theoretically but performs best under 100. Thread networks handle 65,000+ devices but require multiple border routers for large homes. Plan your device count now—it's expensive to migrate protocols later.
Verify cross-protocol bridging needs: If you want Zigbee lights controlled by a Z-Wave motion sensor, you'll need a hub that supports both protocols (like Hubitat or Home Assistant on Raspberry Pi). Native Matter support simplifies this in theory, but cross-protocol automations often add 200-500ms latency vs. single-protocol setups.
Smart Home Hub and Controller Evaluation
You'll either centralize control through a hub or accept fragmented control across multiple manufacturer apps. I've seen both approaches work—but the hub-based approach scales better as you add devices.
Decide between manufacturer-locked ecosystems and open platforms: [Samsung SmartThings Hub] locks you into Samsung's ecosystem but offers dead-simple setup. Home Assistant running on a Raspberry Pi supports virtually every protocol but requires technical troubleshooting. Your tolerance for tinkering determines which path makes sense. Check our best smart home hubs for beginners comparison.
Verify local vs. cloud processing capabilities: Cloud-dependent hubs (like most Wi-Fi devices) stop working when your internet goes down. Zigbee and Z-Wave hubs process automations locally—if/then logic runs on the hub itself, not in the cloud. For critical automations (security, lighting during outages), local processing is non-negotiable. Read about fallback behaviors during power outages to understand failure modes.
Check protocol support explicitly: Not all "smart home hubs" support all protocols. The Amazon Echo Hub handles Zigbee and Matter but not Z-Wave. Apple HomePod supports Thread but not Zigbee. If you're investing in Zigbee bulbs, verify your controller has a Zigbee radio—software updates won't add missing hardware.
Plan for automation complexity: Simple automations ("if motion detected, turn on light") run on any hub. Complex logic ("if motion detected AND time is after sunset AND indoor temp > 72°F, turn on lights AND drop thermostat 2°") requires more capable controllers. Our guide to creating smart lighting automations with if/then logic covers capability differences.
Assess voice assistant integration quality: Some hubs expose every device to Alexa/Google; others require manual linking per device. The Google Nest Hub (2nd gen) acts as both a Thread border router and a Google Assistant display—consolidating hardware saves desk space and reduces failure points. Compare voice assistant protocol compatibility before choosing.
Device Compatibility and Interoperability Mapping
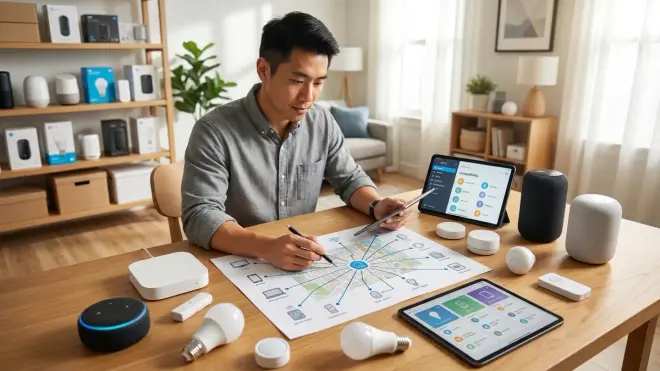
This is where your smart home setup checklist gets specific. You can't just buy "smart bulbs"—you need Zigbee smart bulbs compatible with your chosen hub or Wi-Fi bulbs that work with your voice assistant platform.
Create a master compatibility spreadsheet: List every device you're considering (bulbs, switches, sensors, locks), then verify: protocol (Zigbee/Z-Wave/Thread/Matter/Wi-Fi), hub requirements, voice assistant support, local vs. cloud processing, and required firmware versions. I maintain this spreadsheet for clients—it prevents $500+ mistakes from incompatible purchases.
Cross-reference hub device compatibility lists: Every hub publishes a compatibility list (SmartThings has theirs at samsung.com/us/smartthings). Don't assume a "Zigbee" device works with all Zigbee hubs—some manufacturers use proprietary Zigbee profiles that only work with their own hubs. The Philips Hue Bridge, for example, uses Zigbee Light Link (ZLL) which may not pair with generic Zigbee hubs.
Test interoperability with starter devices first: Buy 2-3 devices from your chosen ecosystem, set them up, and run automations for a week before ordering 20 more. I've seen homeowners realize their hub doesn't support critical features (like dimming curves or color temperature control) only after installing 15 bulbs.
Verify firmware update mechanisms: Some devices update automatically; others require manual firmware updates via manufacturer apps. If a security vulnerability emerges, you need a clear update path. Wi-Fi devices typically update over-the-air automatically. Zigbee/Z-Wave devices often require hub-mediated updates—verify your hub supports firmware updates for your specific devices.
Map fallback behaviors explicitly: What happens when your hub reboots? Most Zigbee/Z-Wave devices retain their last state (lights stay on/off as they were). Wi-Fi devices may default to "on" or become unresponsive until the hub reconnects. For critical devices like smart locks, understand fallback behaviors before installation.
Check for ecosystem lock-in and migration paths: Proprietary protocols (like Lutron's ClearConnect for Lutron Caseta) trap you in that ecosystem forever. Matter-compatible devices offer migration flexibility—but only if your target platform also supports Matter. Plan your exit strategy before investing heavily in one ecosystem.
Automation Planning and Logic Requirements
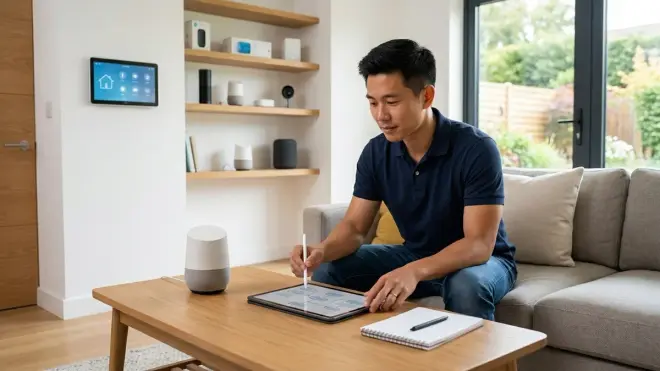
Buying devices is easy. Programming reliable automations that behave predictably is where most DIY installations stall out. Your smart home setup checklist should include automation logic planning before you install a single device.
Define automation triggers and conditions as if/then statements: Before buying sensors, write out your desired automations:
IF motion_detected AND time > sunset THEN lights_on. This forces you to identify required sensors (motion, time, light level) and verify your hub supports conditional logic. Simple hubs only handle single-trigger automations; complex conditions require platforms like Home Assistant.Identify required sensors for each automation: A "turn lights on at sunset" automation needs either a time-based trigger (simple) or a light sensor (more reliable, accounts for overcast days). Motion-activated lighting requires motion sensors with adjustable timeout settings—cheap sensors often lack this feature. Map sensors to automations explicitly before ordering hardware.
Plan for latency requirements by room: Bathroom lights need sub-200ms response time (motion to light-on) or users will manually override the automation. Outdoor lights can tolerate 1-2 second delays. Protocol choice affects latency: Zigbee averages 50-150ms, Z-Wave 100-200ms, Wi-Fi 500ms-2s, Thread 30-100ms. Match protocol to use case. Our smart bulb latency guide explains measurement methods.
Map device states and default behaviors: Define what happens when sensors malfunction or connectivity drops. Example:
IF motion_sensor_offline > 10min THEN default_lights_on. Most hubs don't offer sophisticated error handling, so you'll need to manually specify fallback states. Critical automations (security, safety lighting) need backup triggers.Test automation overlap and conflicts: If you have a "motion-activated bathroom light" automation AND a "turn off all lights at midnight" automation, which wins? Most hubs process automations in order received—the last command executed takes precedence. I've seen bathroom lights turn off mid-shower because the midnight automation ran. Explicitly define automation priority and mutual exclusions.
Document automation logic for troubleshooting: Six months from now, you won't remember why the living room lights randomly turn red at 8 PM on Tuesdays. Keep a simple text file documenting every automation's trigger, conditions, and actions. This also helps identify conflicting automations when behavior gets weird.
Power and Backup Considerations
Smart devices fail gracefully only if you plan for power disruptions. Most homeowners discover their automation's fragility during the first outage.
Calculate power draw for always-on devices: Hubs, routers, and mesh nodes draw 5-25W continuously. Multiply by 24 hours to get daily consumption—then multiply by your electricity rate to understand operating costs. A hub drawing 15W costs around $15-20/year in most U.S. markets. This matters if you're running multiple hubs.
Size UPS systems for critical automation hardware: Your hub and router need backup power to maintain automations during brief outages. Use our UPS runtime calculator to size appropriately. For reference, a 600VA UPS provides about 30-45 minutes runtime for a typical hub + router combo. That's enough to ride out brief flickers but not sustained outages.
Plan mesh network recovery sequences: When power returns after an outage, devices don't always rejoin the mesh in the same order. Zigbee/Z-Wave networks can take 2-15 minutes to fully rebuild routing tables. During this window, automations may behave unpredictably. Our article on why smart homes lose connection during power failures explains mesh recovery timing.
Identify battery backup vs. hardwired devices: Battery-powered sensors (motion, door/window, leak) continue functioning during outages—but your hub still needs power to process their signals. Hardwired devices (switches, outlets) go offline instantly. For critical security automations, consider whole-home battery systems if outages are common in your area.
Test automation behavior during simulated outages: Unplug your hub and router for 5 minutes, then restore power. Watch which devices reconnect automatically vs. requiring manual intervention. Some Wi-Fi devices enter a "setup mode" after power loss and won't reconnect without app intervention—this is unacceptable for devices controlling security or safety systems.
Installation Readiness and Physical Requirements
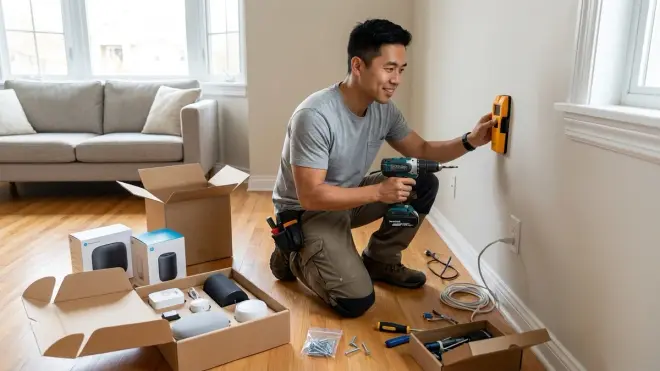
You've planned the technical stack—now verify your home is physically ready for installation.
Check electrical box compatibility for smart switches: In-wall smart switches require neutral wires in most cases. Homes built before 1985 often lack neutral wires in switch boxes. Lutron Caseta dimmers work without neutrals, but most Zigbee/Z-Wave switches don't. Before ordering switches, remove a wall plate and verify wiring. Our in-wall vs. surface mount comparison covers alternatives for older homes.
Verify clearance and ventilation for hubs: Hubs generate heat and need airflow. Tucking a hub inside a closed cabinet invites overheating and thermal throttling. Place hubs on open shelves with at least 2 inches clearance on all sides. If you're planning concealed hub placement, verify ventilation won't be compromised.
Test signal strength at proposed device locations: Before mounting sensors or cameras permanently, test connectivity at the intended location. Use your phone's Wi-Fi analyzer (free apps like WiFiman) to measure signal strength. For Zigbee/Z-Wave, temporarily place devices in position and verify they maintain connection for 24 hours before permanent installation.
Map outlet availability for plug-in devices: Smart plugs, hubs, and repeaters need power outlets. Count available outlets in each room—and don't forget that smart plugs often block adjacent outlets due to their size. If you're short on outlets, plan for power strips or outlet expansion before installation day.
Identify drill and mounting requirements: Cameras, motion sensors, and outdoor lighting often require drilling into walls or soffits. Verify you have appropriate drill bits (masonry bits for stucco/brick, wood bits for siding), anchors, and weatherproof cable routing before starting installation. I've watched weekend projects turn into multi-day ordeals because homeowners didn't have a 3/8" masonry bit.
Final Check Before You Go
You're ready to start buying—but run through this condensed smart home setup checklist one last time:
- Network infrastructure verified: Dual-band router, mesh coverage tested, UPS sized and ordered
- Protocol selected: Zigbee/Z-Wave/Thread/Matter decision made, hub chosen
- Device compatibility confirmed: Spreadsheet completed, interoperability verified with hub manufacturer
- Voice assistant platform selected: Alexa/Google/Apple chosen, integration verified
- Automation logic documented: If/then statements written, required sensors identified
- Power backup planned: UPS installed for hub and router, battery devices identified
- Physical requirements met: Neutral wires confirmed, signal strength tested, mounting hardware acquired
- Firmware update mechanisms understood: All devices have clear update paths
- Fallback behaviors mapped: Default device states documented for connectivity loss scenarios
- Budget includes contingency: Reserve 15-20% of budget for unexpected compatibility adapters or additional networking hardware
Reference our step-by-step home automation setup guide for room-by-room implementation after completing this checklist.
Frequently Asked Questions
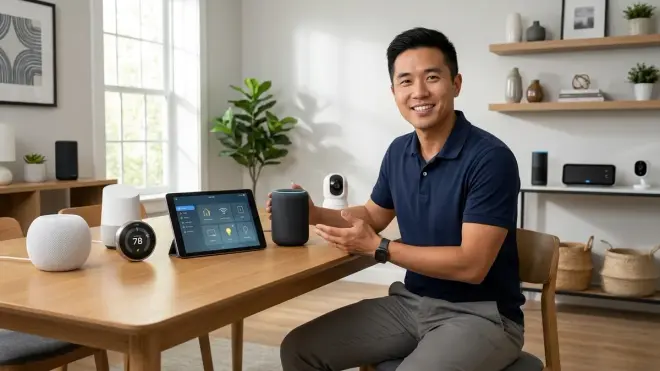
What protocol should I choose for my first smart home setup in 2026?
Zigbee offers the best balance of device selection, affordability, and reliability for first-time installations in 2026, with sub-100ms latency and support for 20-30 devices per hub. Z-Wave provides better range (up to 100 meters vs. 10-20 meters for Zigbee) but costs more per device and has fewer options. Thread delivers the lowest latency (30-100ms) but requires Matter-compatible controllers and has a smaller device ecosystem. Wi-Fi devices need no hub but depend on cloud services and add congestion to your home network. For most beginners, start with Zigbee and add Matter-compatible devices as your system grows—this provides the widest hardware selection while maintaining future upgrade paths.
Do I need a smart home hub or can I use just my phone?
You can control Wi-Fi devices (like Govee lights or Wyze cameras) directly from manufacturer apps without a hub, but you'll lose centralized automation and cross-device coordination—each device exists in its own app silo. Hubs enable true automation (if/then logic across multiple devices) and support Zigbee/Z-Wave/Thread devices that don't work with phone-only control. If you're installing more than five devices or want any automation beyond "tap phone to turn on light," you need a hub. For system planning, review our guide on understanding smart home hubs to determine whether your use case requires one. Voice assistants like Alexa or Google Home provide limited hub functionality for Wi-Fi devices but cannot control Zigbee or Z-Wave hardware without an additional bridge.
How much should I budget for a reliable smart home setup?
A minimal reliable setup (hub, five devices, UPS backup, mesh Wi-Fi if needed) costs around $400-600 including a Zigbee hub (around $80-130), five smart bulbs or switches (around $15-30 each), a basic UPS (around $80-120), and potential networking upgrades. Budget increases significantly if you need whole-home mesh Wi-Fi (add around $200-300) or want premium devices like smart locks (around $150-250) or video doorbells (around $100-300). Reserve 15-20% additional budget for compatibility adapters, extra repeaters for mesh network strength, or replacement devices if your first purchases don't integrate properly. For cost optimization across larger installations, see our budget smart home automation guide covering phased implementation strategies that spread costs over 3-6 months.
Your Pre-Installation Checklist Is Complete—What Happens Next?
You've verified network readiness, chosen protocols, mapped compatibility, and documented automation logic. Most first-time installers skip these steps and spend months troubleshooting avoidable problems. You're starting with a foundation that scales cleanly as you add devices.
Start with 3-5 devices in a single room—test automations thoroughly before expanding to the rest of your home. This contained approach lets you understand your hub's quirks and refine automation logic without managing dozens of devices simultaneously.
The most successful installations I've overseen began exactly this way: meticulous planning followed by conservative, incremental deployment. Your smart home setup checklist gave you the planning framework. Now execute room by room, and you'll avoid the compatibility chaos that derails most DIY smart home projects.